Love fast bases? So do we. Short on time? Check. Here’s a step-by-step process for the 20-minute wax and tune. Start with a liquid paraffin. Here’s to fast times.


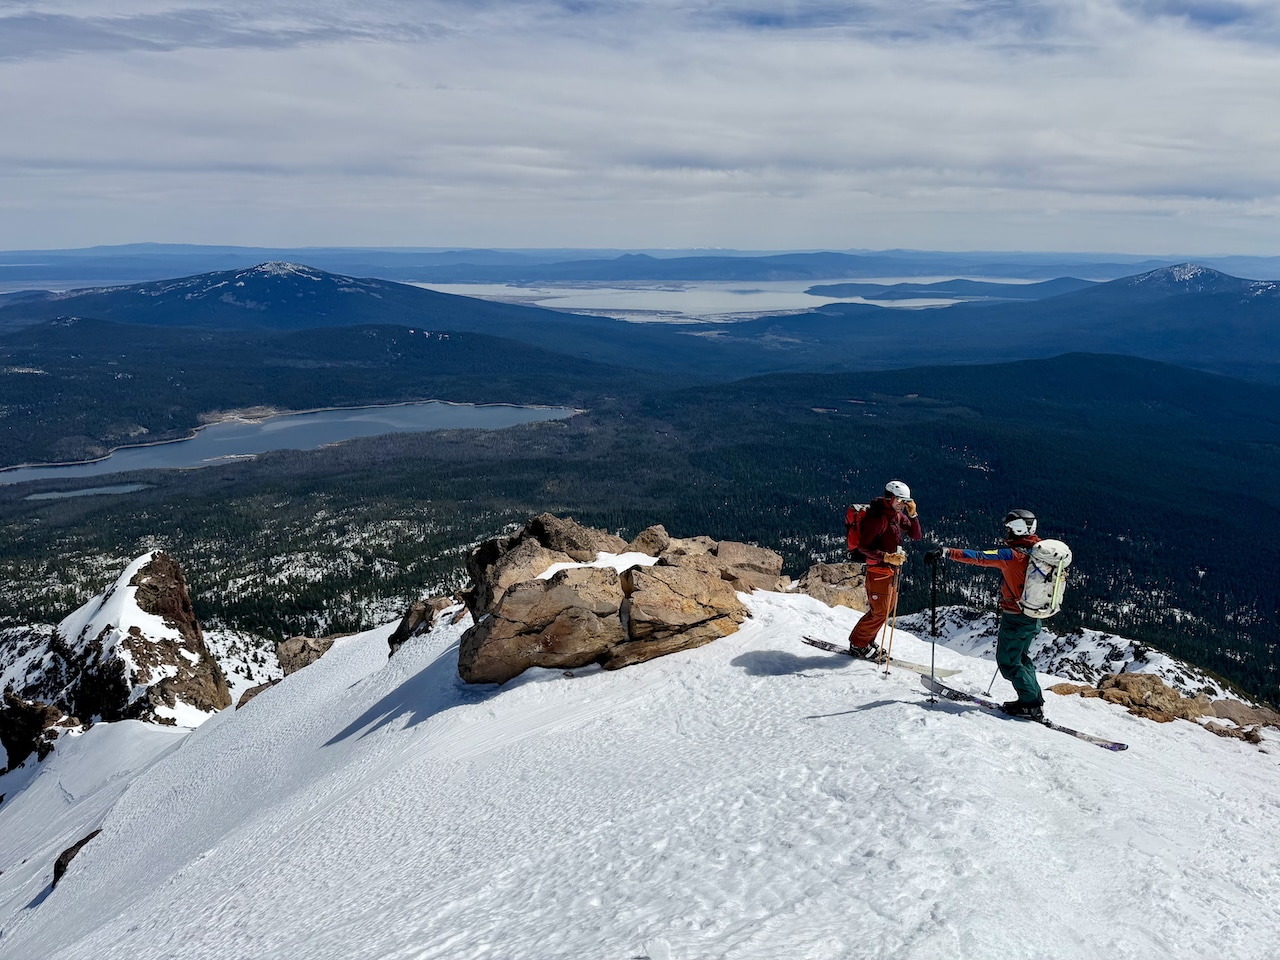
In the spirit of un-slow, we want you in and out of the wax room mighty fast. But we also want tolerably un-slow (or sorta-fast) skis while you are out touring. If you are pinched for time, or just desire less time on the waxbench and more time fiddling with the aero-press and sipping coffee and heading to the trailhead, here’s the process for a 20-min wax. (We’ll detail the nearly 90 minute wax in another story.)

It’s all about: Liquid Paraffins

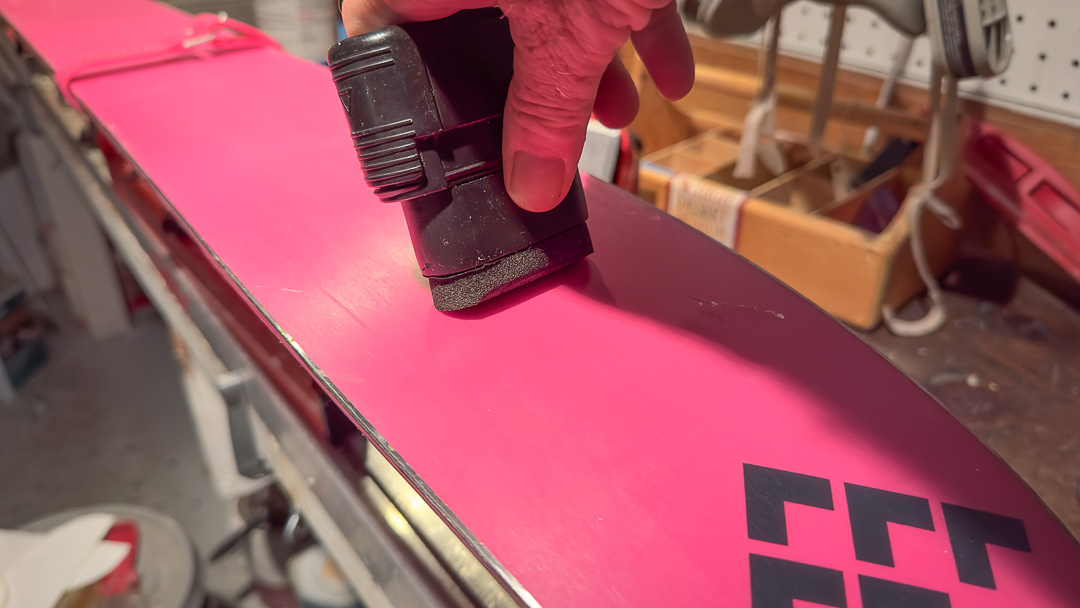
Time is what you make of it. In recent years, we’ve had solid results from liquid paraffin waxes. Liquid waxes are simple to apply; simply rub it on to the ski base. What makes this process simple is that it requires no iron, only a small workspace and minimal elbow grease.

The 20 minute version of this ritual can be reduced by not cleaning the ski base, or brushing out minimally. Choose to cut corners at your own risk.

The traditional wax application method of using an iron to melt wax on the base is more durable, and the liquid application process is less so, but it gets the job done.


Draw an arrow on the brush. Always use the brush in a tip to tail direction with the arrow pointing tip to tail.

Note the arrow drawn on the wax brush. This is a reminder to use the brush in a tip to tail direction. Yes, the arrow points…tip to tail.


The Tools

  • Liquid wax
  • Soft brass wax brush
  • Unfancy wax bench
  • Citrus ski base cleaner and rag
  • Base file
  • Gummy stone


The Quick Tune

Before the waxing take a moment to inspect the edges. If you nailed a rock, nailing rocks happens, do as Doug Coombs does in The Q and P tutorial. Coombs holds the base file at 3-degrees and secures the ski between his legs, and runs the file tip to tail over the edge ding. (Run the file along the edge while the ski base is oriented perpendicular to the ceiling.)  In Coomb’s assessment, remove 80% sidewall, 20% metal for a ~3-degree edge bevel.

Next, with the ski flat on the wax bench and the ski base facing upwards, run the gummy stone (tip to tail) along the edge to deburr.

Applying liquid wax.

Easy peasy: apply liquid wax to a clean ski base. Let dry. Bush out. Glide fast.


The Liquid Wax Process

1. Clean the ski base with a citrus solvent. (Pour solvent rag, and wipe the base tip to tail.)

2. Using a soft ski wax specific brass brush, brush a few times tip to tail to remove any solvent residue.

3. Apply liquid wax tip to tail to the ski base. Just rub it on like a liquid deodorant.

4. Let it dry for 10 minutes.

5. Brush the wax out with the same brush. Again, go tip to tail.

That’s it, you’re done. Let’s be honest here, the process can be done with a shortened drying time in 10 minutes.


Brush wax out tip to tail.

Apply pressure to the brush and “brush” the wax out running tip to tail.


It’s easy to think you can reapply and reapply liquid wax without cleaning the ski bases. Don’t make this a habit, clean your ski bases periodically, and most certainly after a day on dirty snow. After the bases are clean, then apply the liquid goods. And if you opted for the 20-mminute wax rather than the more involved, more taxing, and downright longer traditional hot-wax process, you are probably looking for even more short cuts.

Not a problem. We can have you ready to ski—with clean waxed bases—in probably 10 minutes. Repeat step 1, clean the bases if they are dirty, this includes dirt, dust, or skin glue. If you are speedy, this takes two minutes. Now wipe the base down, and brush out a few times — call it another 1:30. Apply the liquid wax— add one minute. We are at 4 minutes 30 seconds total elapsed time. Wait one minute for liquid wax to dry. Now brush out the base. Maybe you fiddled with your phone to swap podcasts (that’s a minute penalty). In total, you are in and out with buffed and fast-er bases in under 10 minutes.

Now, go glide fast.