The DIY scene is alive and well for minor ski repairs. We repair small dings or grooves in a ski/board base in this DIY basics. In short, heat, melt, and then drip P-tex onto the ski base blemish to reproduce a smooth gliding surface.

A stick of P-tex ready for the task.

A stick of P-tex ready for the task.

P-tex is short for polyethylene, a common plastic. Ski bases are made specifically from UHMWPE. Think long-chain plastic. For ski base applications, it’s relatively durable with a low coefficient of friction. Both are excellent attributes for snow sliding and allow skis to take a beating.

In the battle for hardness and durability, rocks beat UHMWPE. Glide over a rock or five, and that once unblemished ski base sports a patina that says “I get after it” and cannot be bothered with superficialities like ski base appearance. Sure, a patina of ski base grooves here and there isn’t a big deal. But when deep hits look like they may compromise a base or are close to an edge, P-tex, which costs a few dollars/stick, is a cost-effective base repair solution.

Use P-tex to repair the base for base gouges of ~0.5mm or less. If a ski’s core material is exposed, we suggest a different base repair solution that involves metal-grip (an epoxy P-tex combo). Eyeball the ding before you spark a stick of P-tex: those dings less than 0.5mm are likely cosmetic.

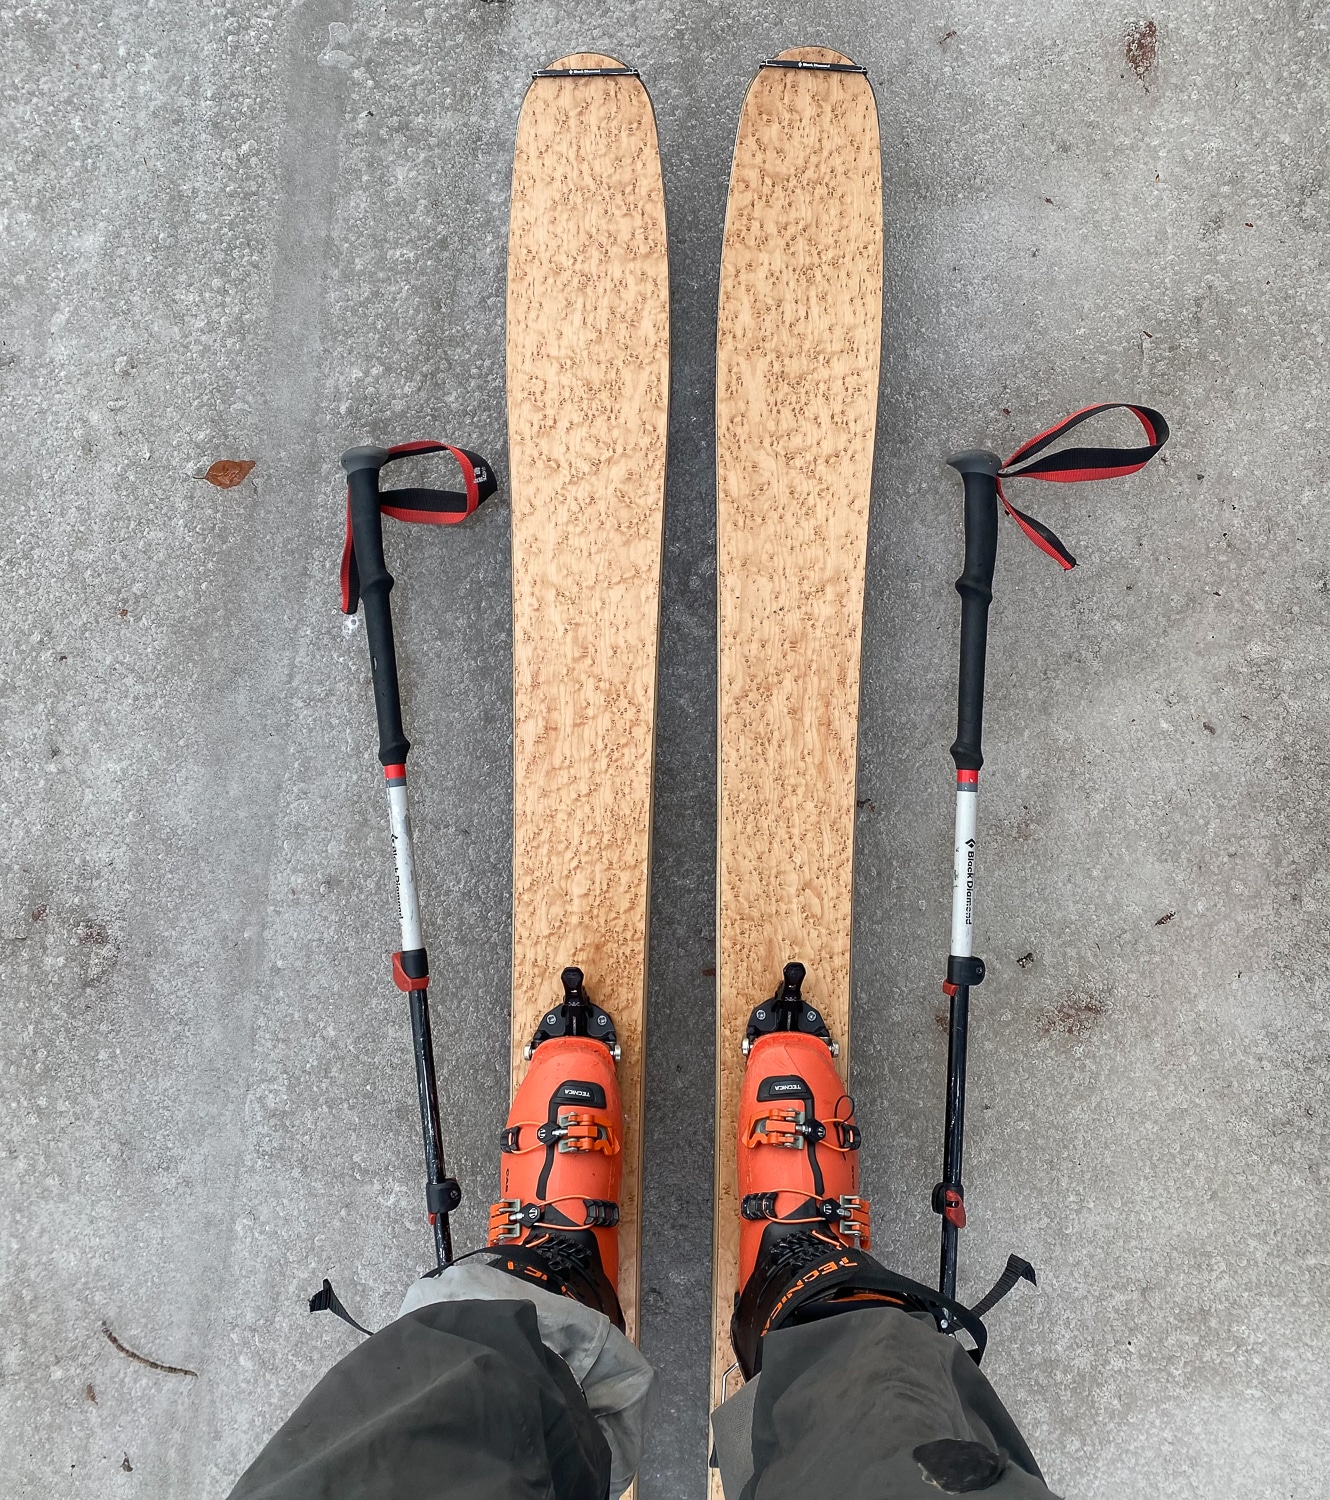
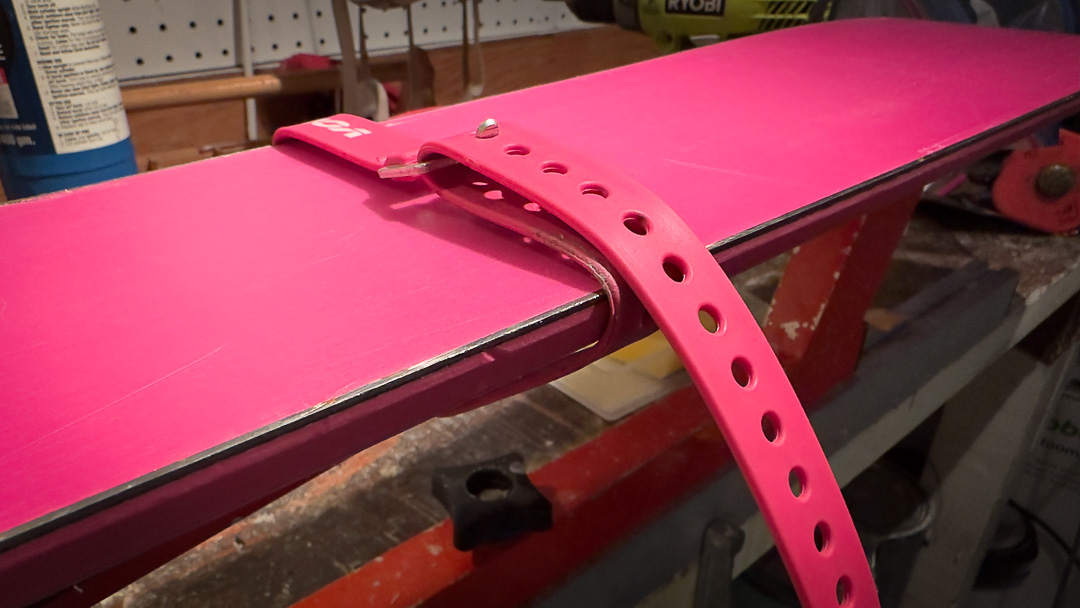
We used a well loved pink-based Black Crows Corvus Freebird for the P-tex repair demo. Be warned, if you are overly concerned with pairing ski base color with P-tex color, be warned, you may be offended. We used black P-tex on the pink base. The ding was over 0.5mm deep, and just on the threshold of requiring a more substantial base repair.

Ski secured to ski form/bench.

For most tasks related to ski repair, we plop the ski on a nordic specific ski bench/form (because that’s what we have) and if needed, secure it with a few ski straps to the form.


Materials for P-tex Repair

  • Lighter or plumber’s torch to light P-tex
  • Plastic or metal scraper
  • Small sharp blade/exacto knife
  • Base cleaner


Steps for Repairing with P-tex

Preparing the Ding
—Secure the ski on a flat surface. If you have ski vises, lock the skis in. If not, construct a makeshift but functional ski bench using 2×4 scraps and old bike tire tubes.

Clean the affected area on the base (if not the entire ski base) with base cleaner. It’s easy; wipe some cleaner on the ding to remove any dirt/grit.

Brush out the base/affected area with a wax brush.

Ideally, we want a clean ding, free of strands/hairs of base material. The base is plastic, so use the blade/exacto knife to cut and remove excess material. All this ensures a better bonding surface between the ding and fresh P-tex.

The ding.

The ski base ding was greater than 0.5mm in depth and trending towards a more involved base repair.

P-tex lit.

The P-tex is it lit with a sustained flame burning.

Dripping P-tex.

The dripping begins. Go back and forth to build up the depth of the P-tex layer to completely fill the ding.


Sparking and Dripping the P-tex
One word, plastics. You’re about to light some plastic. Inhaling the smoke from a lit stick of P-tex is not an opportunity to channel Peter Tosh — work with lit P-tex in a well-ventilated area, or have access to an outdoor workbench.

Light the P-tex with a good ole’ lighter, or be more aggressive and use a plumber’s torch. Look for a bluish flame. It could take 10-15 seconds to get a blue flame once the stick is lit. Expect the stick to drip hot P-tex. Work over an inflammable surface.

Now get to dripping hot P-tex into the hole/gouge/groove. The deeper the ding, the more layers of P-tex you need to build. When dealing with a long skinny ding, drip P-tex in one direction, reverse course, and repeat until the groove is filled. It’s ok to slightly overfill the ding, as you’ll be scraping excess P-tex off after the cooling phase.

For the deep and generally round dings, drip P-tex in a manner that allows the layers to build and fill the void. Dripping some P-tex on the ding’s edges onto non-affected parts of the base is fine.

Allow the repaired area to cool. Waiting 15-20 minutes is adequate.

Scraping Excess P-tex
Use a sharp plastic base scraper (not too pricey, around $5), and scrape the repair in a tip-to-tail direction. It helps to have a new scraper, which will be sharp, or sharpen a dull scraper with a sharpener. (A base-level Swix sharpener will cost $20.)

There’s no need to get too aggressive with the scraping. The point is to gradually scrape (really shave) the P-tex down so the repair is flush with the surrounding ski base.

There you have it, fini! If you are compelled to wax the base, do so. If not, be on your way; go skin and ski.

Scraping P-tex.

Scraping directionally (tip to tail), use a plastic scraper to remove excess P-tex.

Needs more P-tex.

Note a small portion of the ding did not in-fill with P-tex properly. Simply drip more P-tex into the specific spot and wait until P-tex fully cools until scraping a second time.

Allowing P-tex to re-bond to the repair.

Allow the second pass of P-Tex to cool.

Repair done.

Post second scrape, the ding is filled and smooth.