
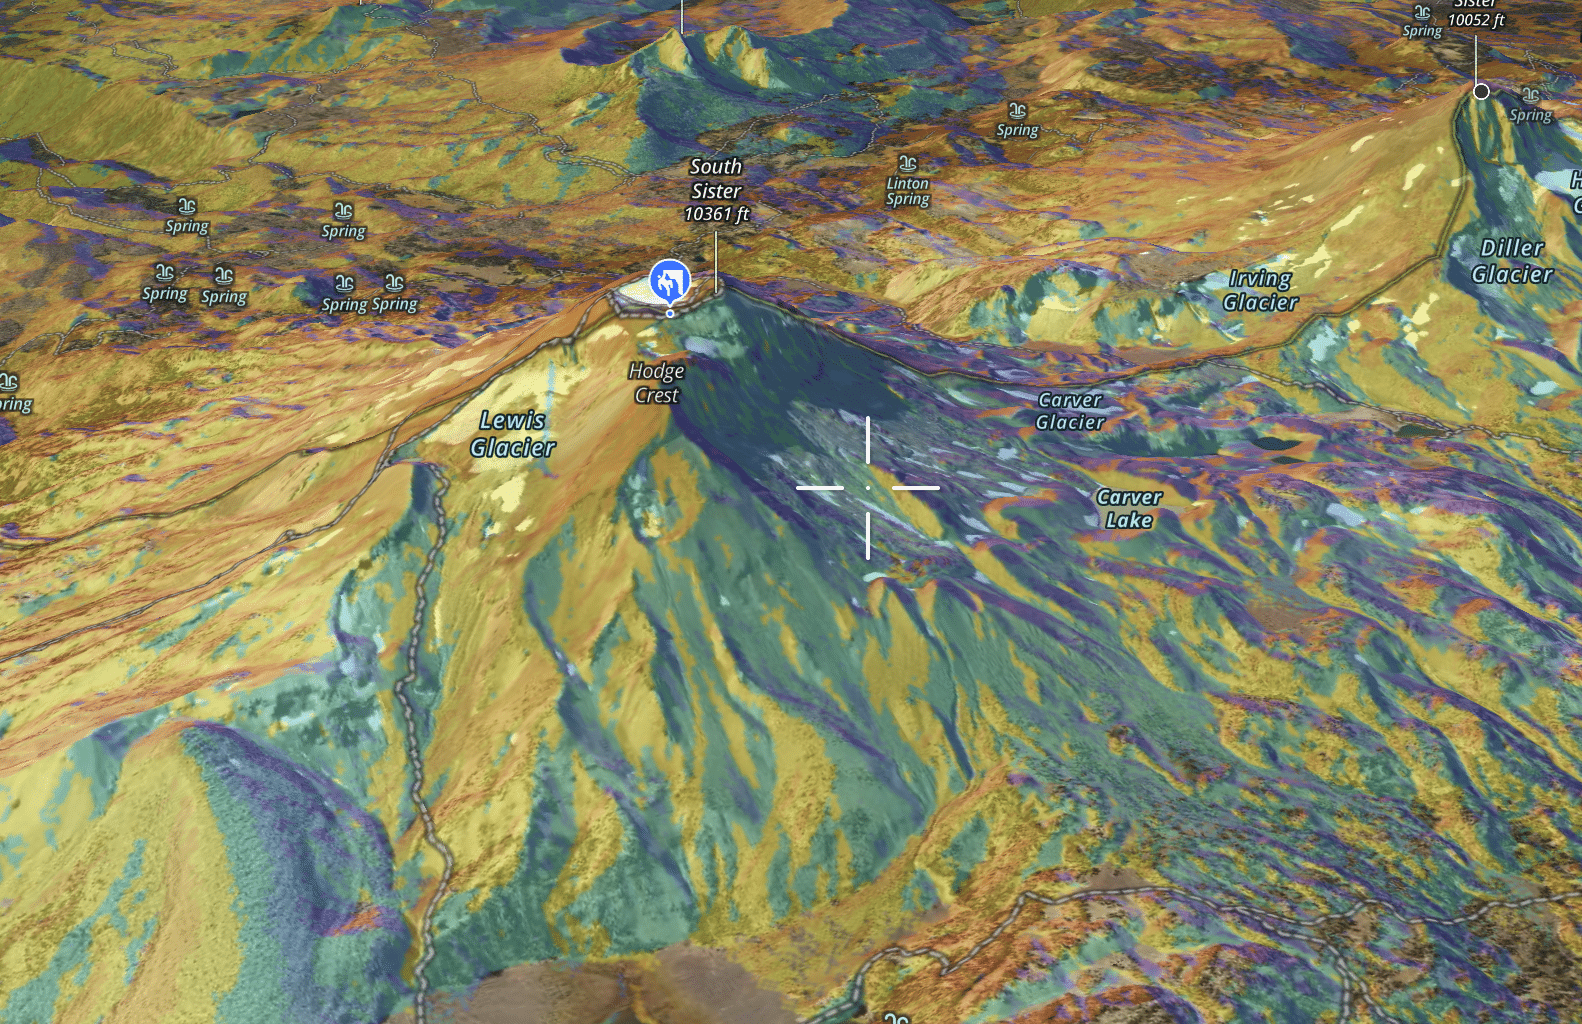
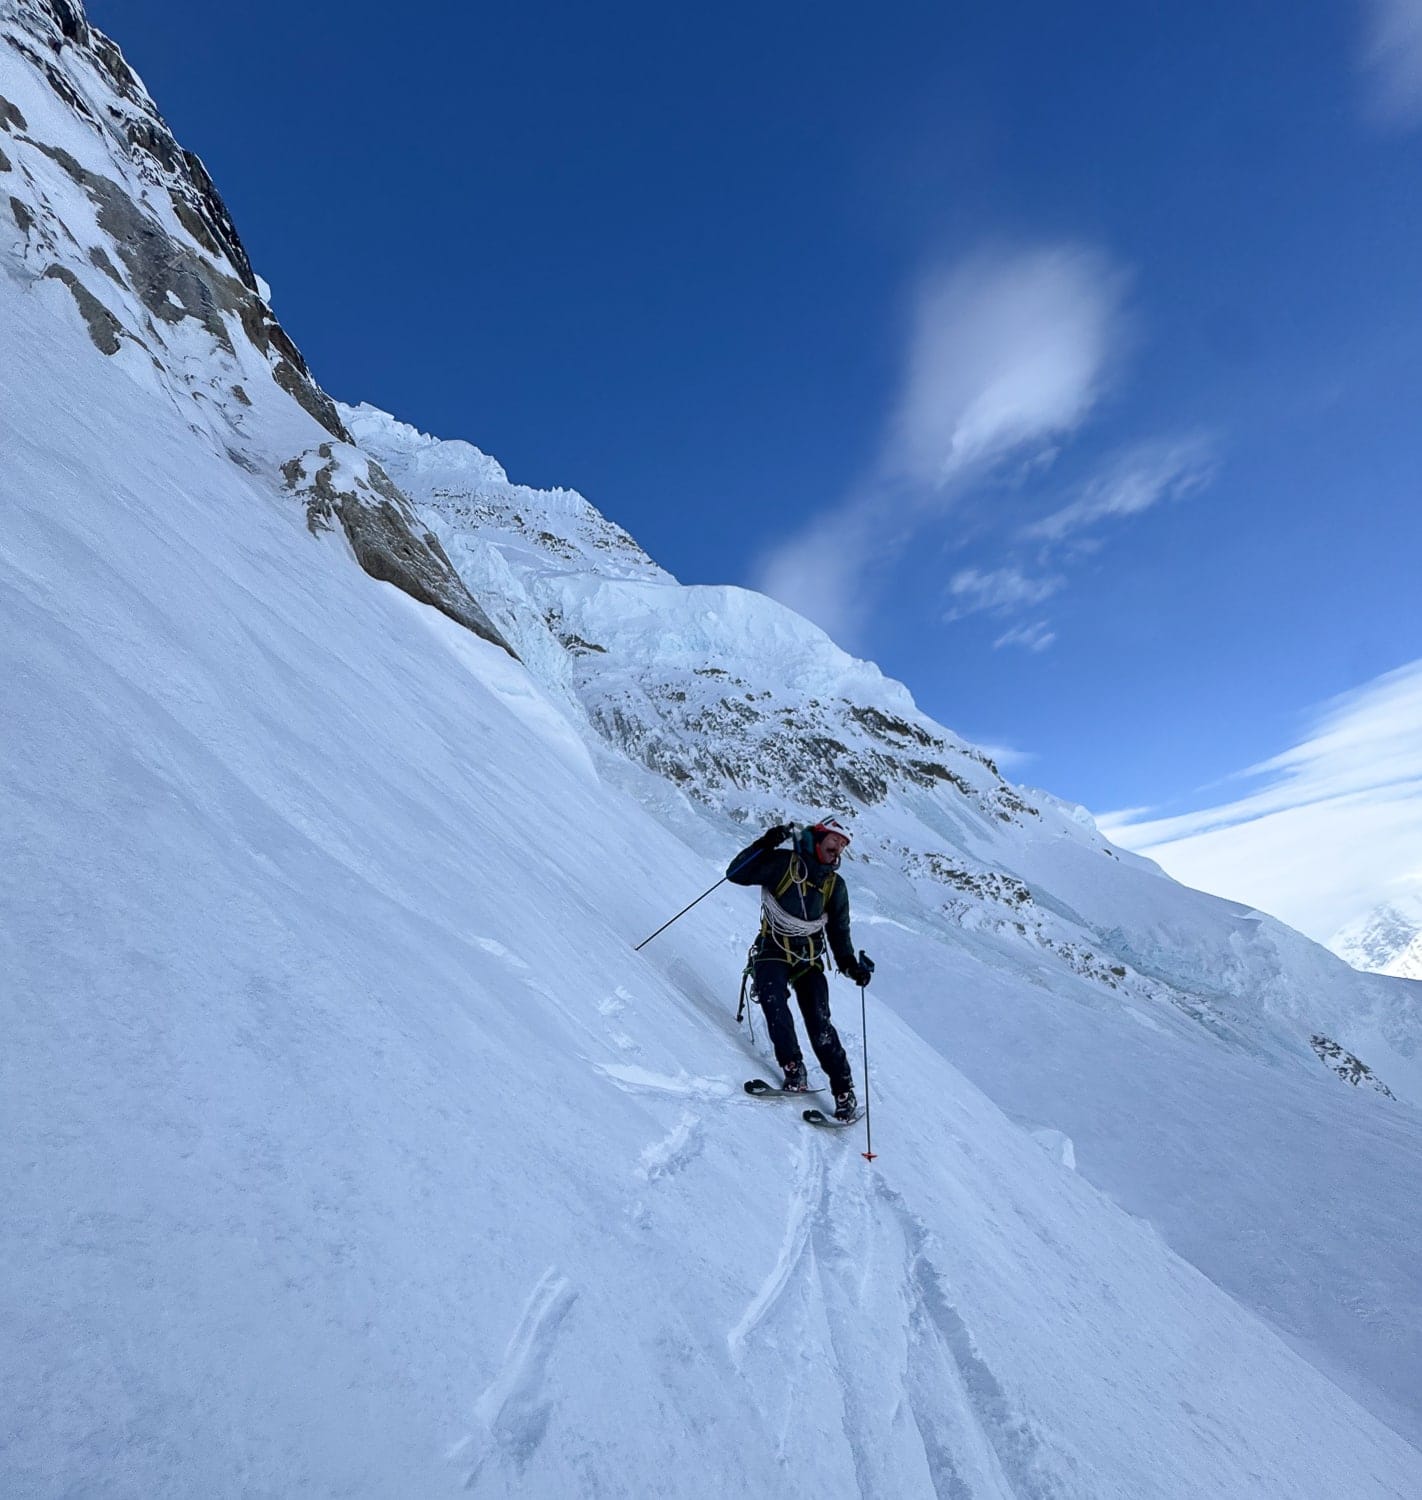
A commonality amongst backcountry enthusiasts is seeking out and sliding down high-quality snow. Although many variables are in play to differentiate high from low-quality snow, and mediocre snow, too, sun exposure is critical. Physics dictates that snow exposed to the sun’s radiant energy will (in most cases) begin to melt. Some things to keep in mind are the intensity of the solar radiation, the snow’s albedo (how much of that light, energy, is reflected back into the atmosphere by the snow), wind, ground temps, cloud cover, and humidity. That is a lot to consider if the main objective is to simply find good snow. Which, in this case, means powder snow or corn snow.
In winter, generally, we seek powder snow during and shortly after storm cycles. In spring, and sometimes in winter—when southerly facing slopes and warm, clear windless days grant some corn—the day’s objectives often mean ascending on firm, easy-to-travel-up snow and timing the descent for when the snow surface has melted to just so affording a soft and creamy surface to make turns on.
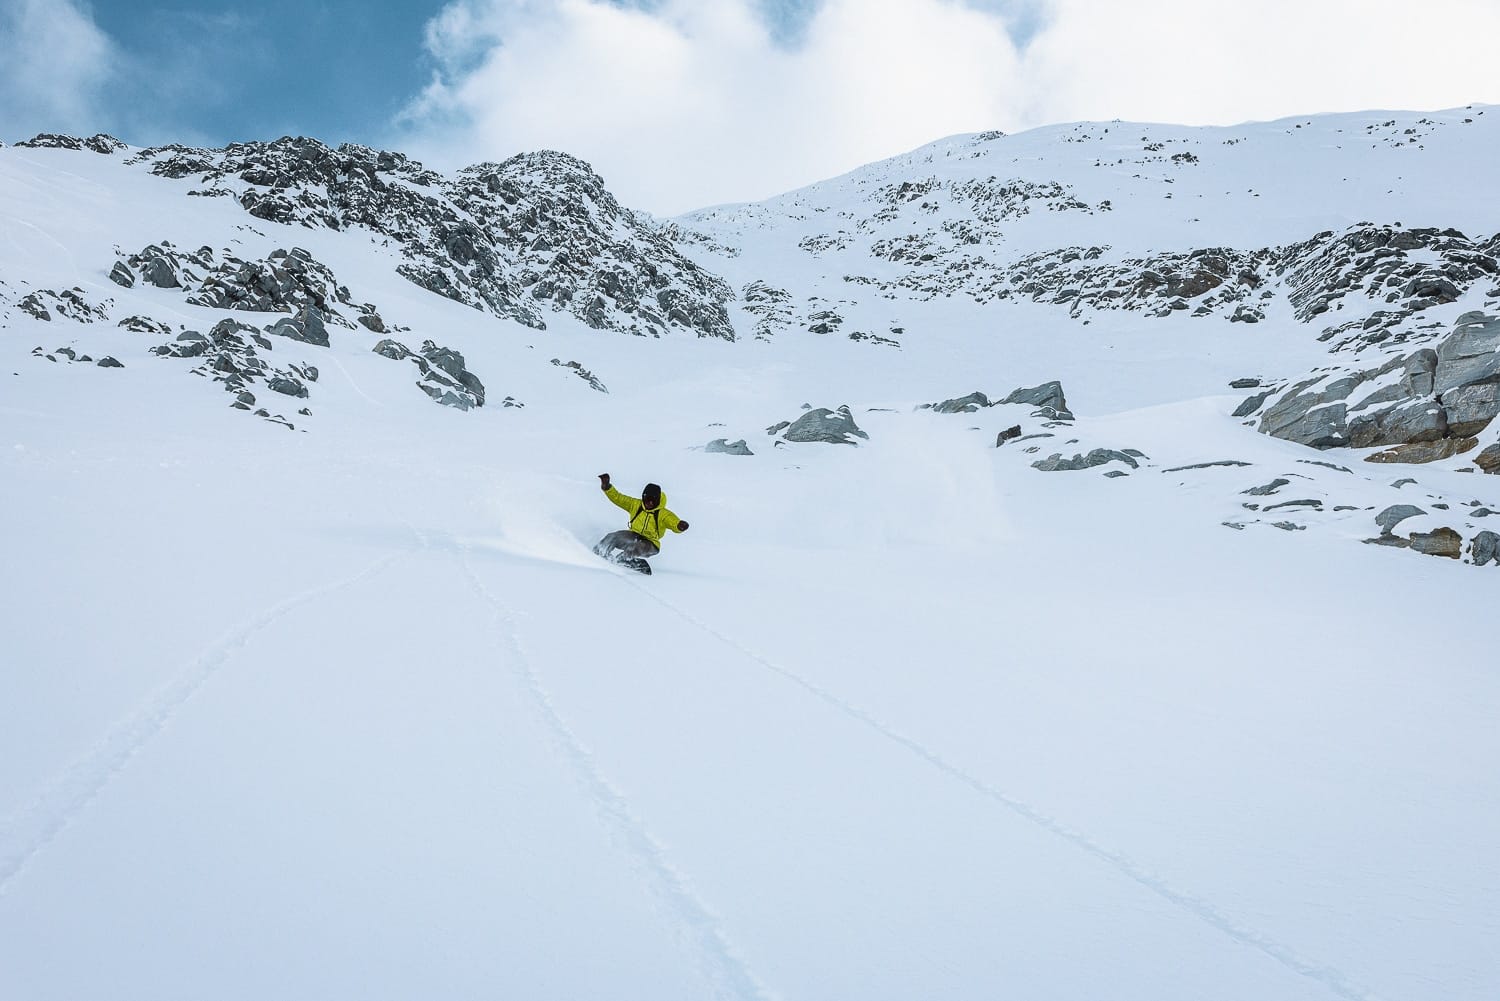
As this is a Backcountry 101 article, we will begin with the basics. So let’s focus on sun exposure. To simplify, for powder snow, we often want slopes that trend north. These slopes are less exposed to direct sun in winter. Oftentimes, during the shortest days of the year, they remain shaded all day. Shade, in this case, is your ally as powder snow is likely to remain powder snow up to a few days (sometimes up to a week) on north-facing shaded slopes. In particular, if the air temps are low, as they likely are on shaded slopes, Mother Nature does her thing and preserves the top layer of the snowpack for our enjoyment.
In the spring, it takes some minor experience to learn how to time the corn cycle—the moments and shortly thereafter when that firm, sketchy surface becomes soft and somewhat easier to edge and carve on.
Digital mapping apps are an excellent tool for discerning where to find powder snow in winter and corn snow in spring. This premise is especially true if you are exploring new terrain where a topography’s nuances are tough to discern. You have a few tools at your disposal.
Slope Aspect Overlay: This overlay shades terrain according to which direction a slope faces. North-facing slopes are often depicted in colder shades of blue. This overlay is useful for a few reasons. First, it denotes which slopes (east-facing) will receive early morning light and are likely to warm up and soften faster. This may help with route and objective planning, as it can alert you to potentially warm slopes that present greater avalanche risk. Second, it can also provide information about which slopes may soften first in spring, so you can find corn snow. This overlay, conversely, enables powder seekers to identify north-northish facing slopes where powder snow is likely to be found. Again, this tool, along with all the other tools mentioned here, is more useful if you are new to a zone and want to maximize your time on good-to-great snow. If it is your local zone, you probably know your way around.
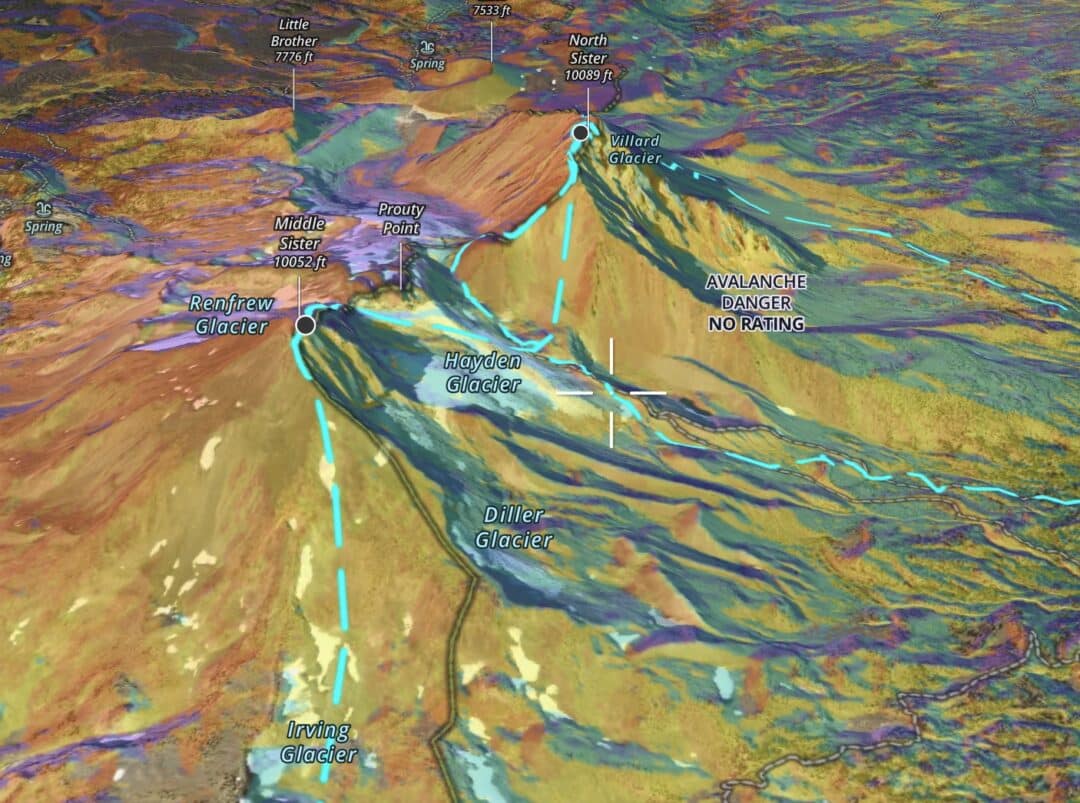
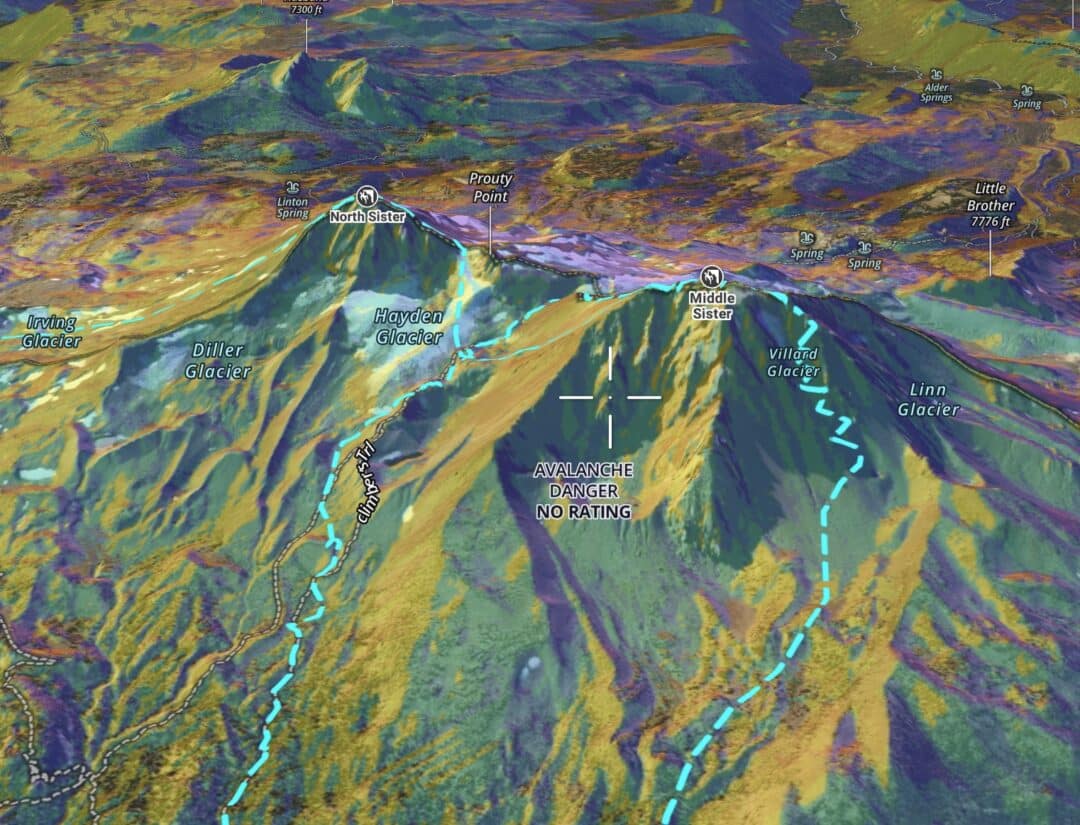
There are a few digital mapping assets that get you even more detailed information about the likelihood of finding powder snow and corn, respectively.
Cal-Topo Sun Exposure
I am not a regular Cal-Topo user. That said, this is a very powerful tool, and for many who go deep on building out more complex tours and traverses, it can be the preferred tool. We are here to discuss the Cal-Topo Sun Exposure overlay. This tool is activated by toggling the Sun Exposure tool on the right-hand side menu. Then choose the month and time of day. The darker blue gradients indicate shaded areas, where the brighter/yellow-orange-red colors indicate a greater sun exposure. All in all, this tool is easy to use and provides excellent insights throughout the winter and spring. As you gain more experience in the alpine, this tool can assist in planning more complex ascent and descent routes. For example, if you are ascending a tight couloir to access terrain, Cal-Topo’s Sun Exposure overlay can provide a rough to good approximation of when to be in and out of the couloir, especially if avoiding overhead objective hazards (like rock/ice falling) is a concern due to melting.
Disclaimer. This run is all over the Internet. So, I don’t exactly feel like we are disclosing the goods here. Anyhow, the run is mostly south-facing, so it catches early morning sun. According to Cal-Topo, the sun gods send rays directly onto much of the south face around 8:00 am. However, you must have patience. On most days, it takes a few hours of direct sun to soften the mountain’s upper elevations. If you are like me and loathe skinning in the sun/heat of the day, you will likely start ascending very early. This means you can expect to sit at the top for several hours if you want soft snow on the upper few thousand feet of the run. Timing is everything—or so they say. Early birds, in this case, may get a worm, but it will be firm and chattery and somewhat unpleasant snow until, usually, late morning. This spring, on my annual trip up the mountain, I did my thing, leaving around sunrise, and then spent 2.5 hours gazing this way and that, enjoying the view and waiting for the corn cycle to unfold. Below are some screenshots from Cal-Topo to illustrate when the South Face receives its first light (and beyond) in May.
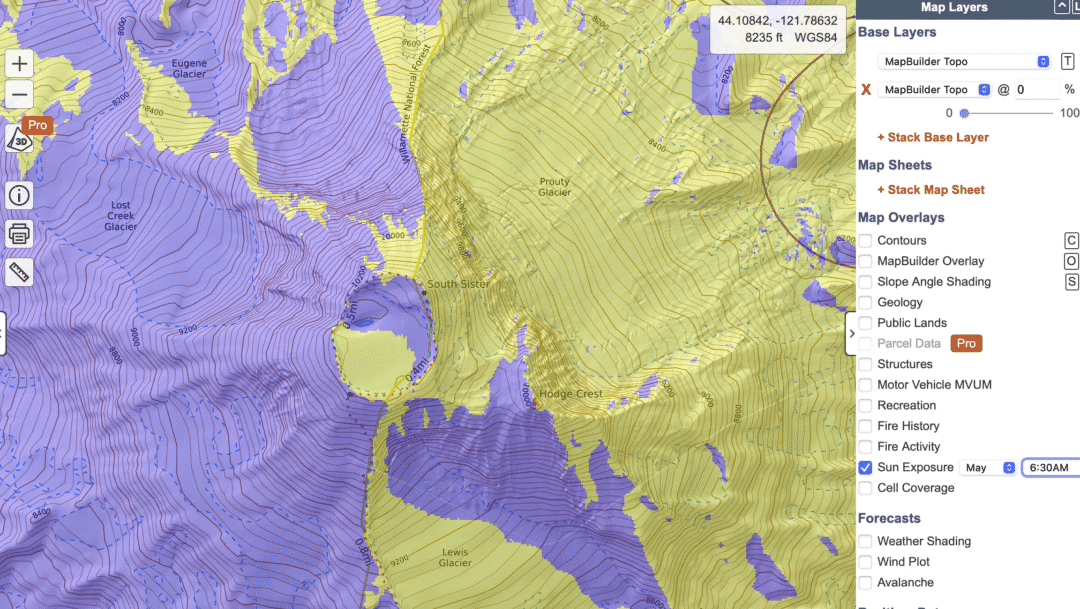
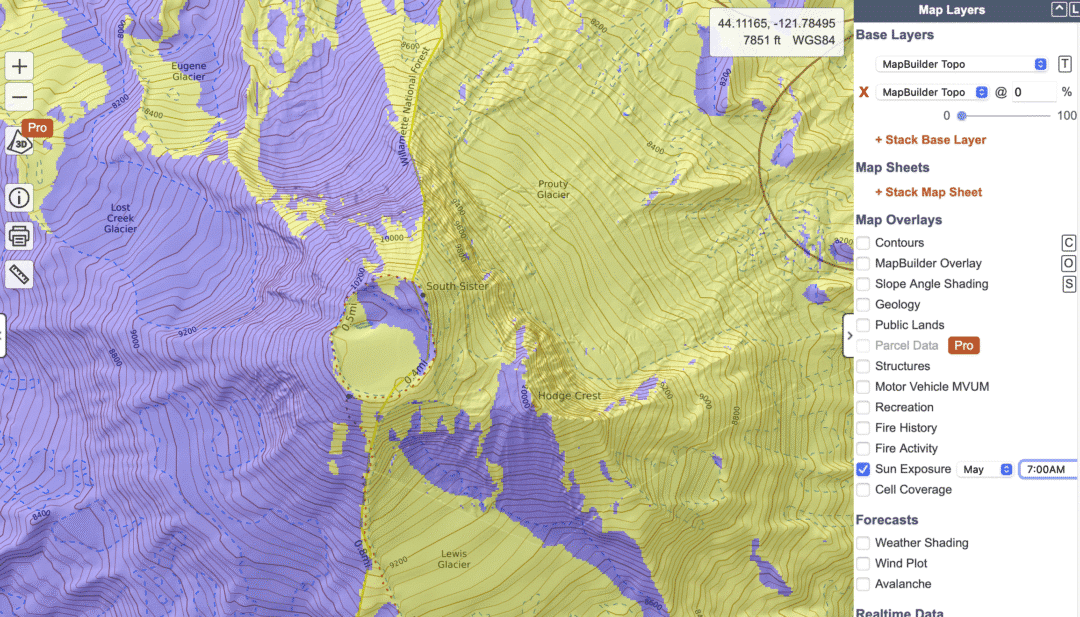
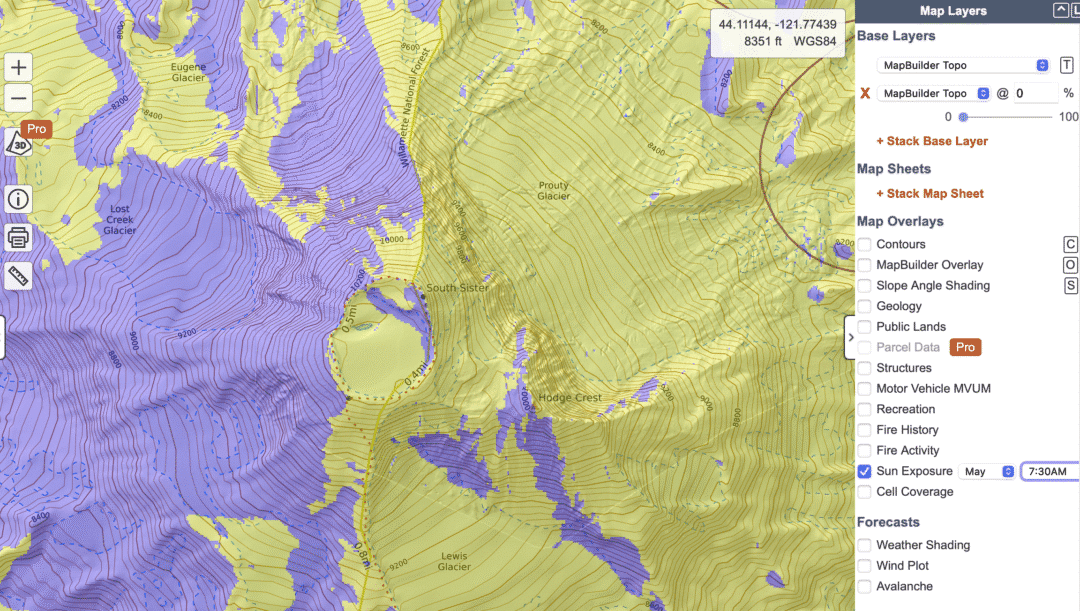
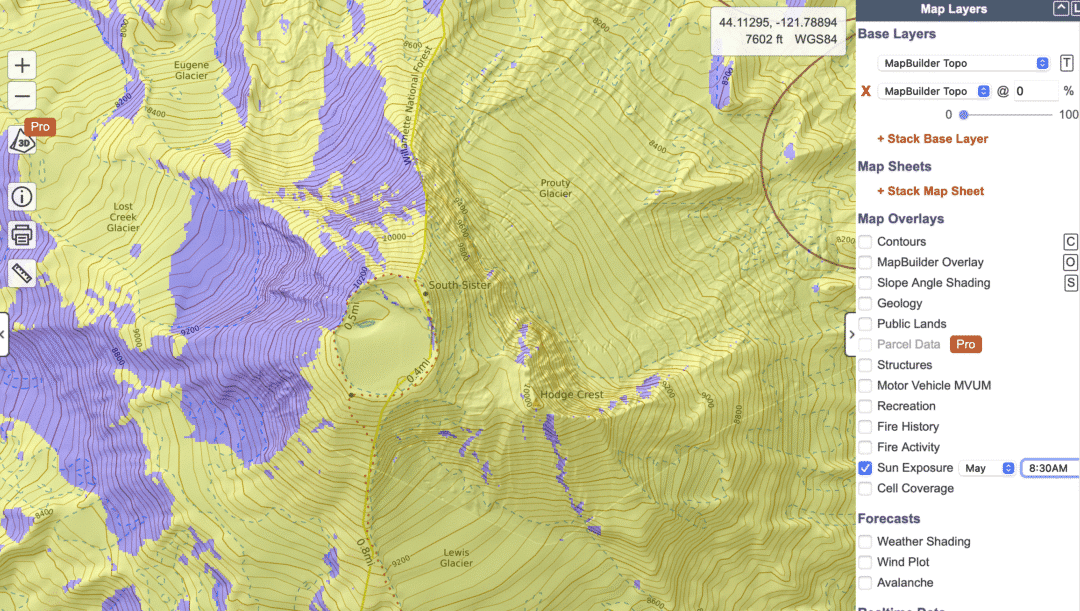
By 8:30 am, much of the South Face is in direct sun. Again, if ambient temps are low, the wind gusting, etc., you may have to wait longer, or be skunked altogether. Direct sun is often the necessary condition for corn snow, it is not always the sufficient condition.
Shademap.app
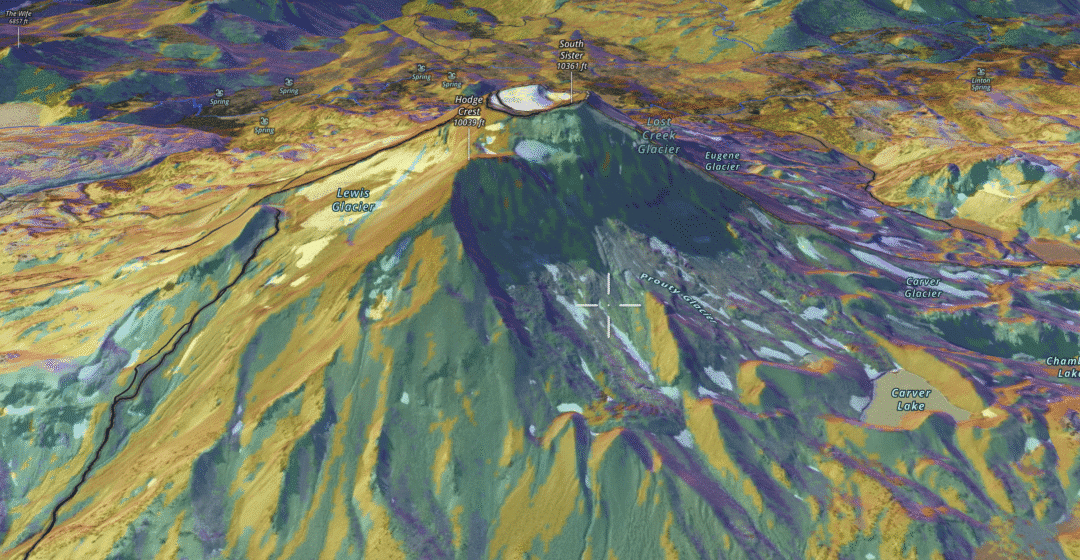
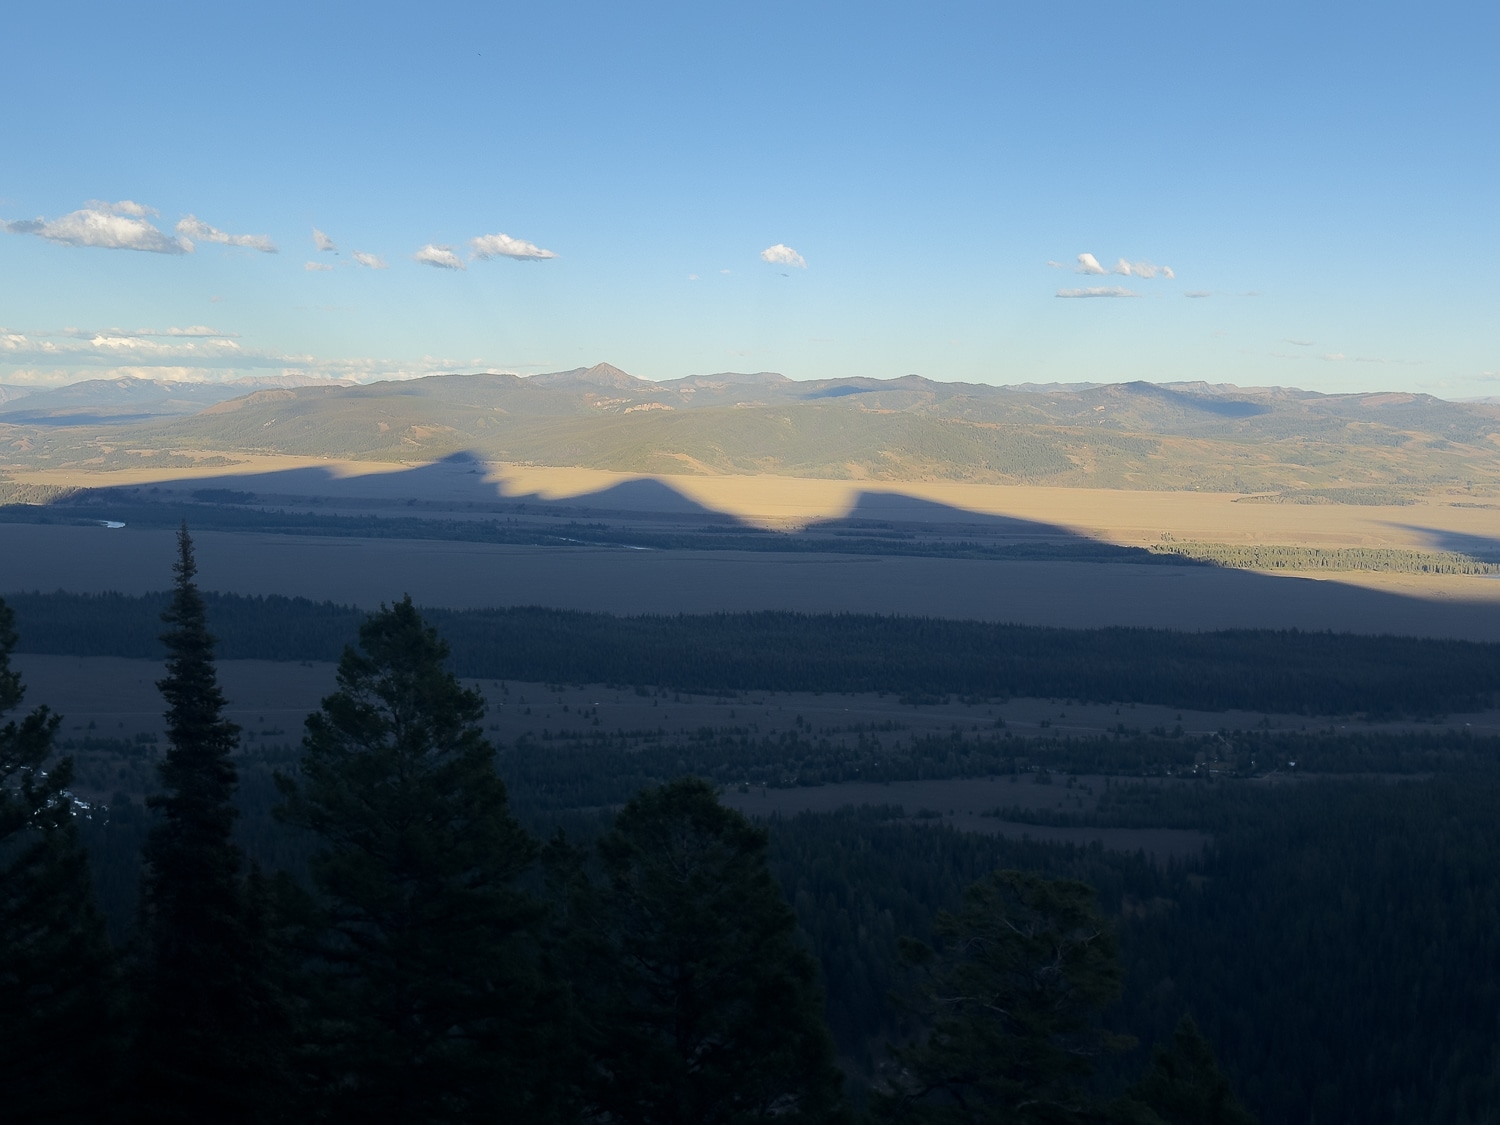
Last season, we covered this app in detail, and it is worth mentioning again. First, let’s chat about what Slopeshade is not. It is not a full-on digital mapping application. It is a refined tool designed for a specific task. Here is what the app advertises: It is “a global simulation of mountain, building, and tree shadows for any date and time. ShadeMap can calculate shadow locations in real-time and display them on a map. ShadeMap can also aggregate shadows over time to calculate how many hours of sun or shadow a specific location gets over the course of a day or an entire year.” It’s a fancy way of saying you can set the time of day on a specific date, and the app renders shadows (zones of no direct sunlight) and, if you so desire, total hours a location is in the sun, and a graph/map displaying annual sunlight and intensity for a given location. It is a useful tool. However, it seems the latest free version is less robust than the one offered last year. The 3D function is somewhat ineffective, and the map resolution, while useful, will not resonate with those used to Lidar. However, if you desire beta relating to a specific time of day and shadow/sunlight, it is still capable.
Leave a Reply
You must be logged in to post a comment.