
A New Series: Leg Burners
Every ski town has one: the hill that everyone uses to prep for a winter of uphilling. As the days start noticeably shortening, the devoted among us start making plans to build the legs needed to capitalize on the coming winter.
I enjoy my time in the gym. I’ve done training plans, and they work. But I also think that there’s something to be said for sheer uphill volume to build aerobic capacity and muscular endurance. Uphill fitness is stubbornly specific: you get good at going up by going up, ideally on terrain that challenges your body in the same way that a skin track does.
So this is the first in a series of reference posts with the aim of cataloging the classic leg burners int he places that our contributors call home. Each entry covers one town’s best training climb — we’ll do SLC, Anchorage, Aspen, Seattle, Tahoe, and wherever else our contributors have worn a groove into a hillside. The format will stay the same: the stats, map, the FKT if there is one, a description of what it actually feels like, and a backup option for when the main one is closed, crowded, or under snow.
What Makes a Good Leg Burner
Not every good hike is a good training hike. The qualities that we should look for in a good training hill are:
- A consistent, steep grade. This is the main event. You want a pitch that is sustained enough that running is nearly impossible and fast walking is hard — somewhere in the 15–25% range, where a strong hiker moves about as fast as an OK runner and you can move uphill nonstop for 45 minutes to an hour. What you’re building is aerobic capacity and sport-specific strength endurance, which pays back dividends on the skintrack.
- A forgiving descent . Vertical gain is the training stimulus that we’re looking for but vertical loss can be a tax on the body. If you’re going to do this climb multiple times per week, the eccentric load on your knees can be challenging. A smooth, low-angle descent trail is good, or a download on a chairlift or tram. Running or hiking down isn’t the end of the world, and does build eccentric strength, but you can log more laps with less wear if there’s a forgiving descent. The eccentric strength built by descending is moderately useful when skiing, but isn’t very similar to the actual demands of descending. You’re better off downloading and doing pulse squats, or building downhill riding endurance using lift-served riding at the start of the season.
- Easy access. Thirty minutes from the door is ideal. A route you have to plan for is a route you’ll do four times. A route you can slot between work and dinner is one that you can do weekly.
- Free. No fee, no pass, no reservation window. Any friction between you and the hill will impede training.
Mt. Bachelor Summit Trail (Fly Creek/Summit East)
Stats
| Metric | Mt. Bachelor via Fly Creek → Summit East |
| Trailhead | West Village Lodge, Mt. Bachelor (~6,400 ft) |
| Summit | 9,068 ft |
| Distance, one way | 3.2 miles |
| Distance, round trip | 6.4 miles |
| Vertical gain | 2,660 ft |
| Average grade, whole climb | 16% |
| Average grade, Summit East section | 21% over 1.5 miles (1,658 ft) |
| Descent options | Reverse the route, loop out via West Ridge, +/- download Pine Marten Express |
| Season | July through November |
| Cost | Free. Summer parking at West Village is open and unregulated. |
| Water | None on route. |
| FKT Up (W) | Sarah Burke 51:03 |
| FKT (W) Round Trip | Robin Vieira Brower 1:30:28 |
| FKT Up (M) | Casey Campbell, 39:54 |
| FKT Round Trip (M) | Max King, 1:03:46 |
The Route
From West Village the trail follows a service road East out of the base area. Signage is decent if you’re paying attention, keep an eye out on the uphill side and look for Fly Creek. It peels off the road on the climber’s right and ascends into the trees.
Part 1: Fly Creek
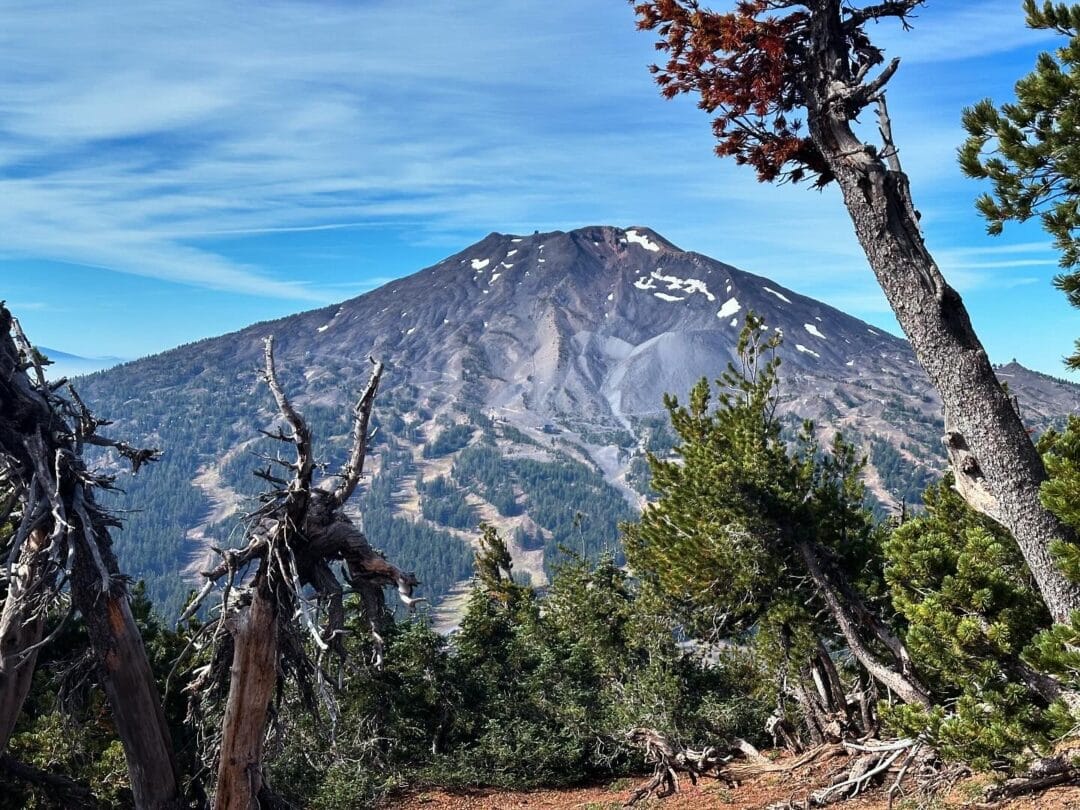
Fly Creek Trail climbs roughly 1,000 feet in a mile and a half through steep hemlock forest, and it is the friendliest part of the day at somewhere around 11–12%. Friendly is relative. It begins at a runnable pitch but throws in steeper segments that become increasingly challenging to recover from At a running pace. The tread is soft volcanic duff, dark and quiet, with occasional windows out to the Cascade Lakes. It’s reasonably shaded and feels nice on a hot day.
The trail leads you to the top of the Sunrise lift at about 7,400 feet where the trees end and the real climbing begins.
Part 2: Summit East
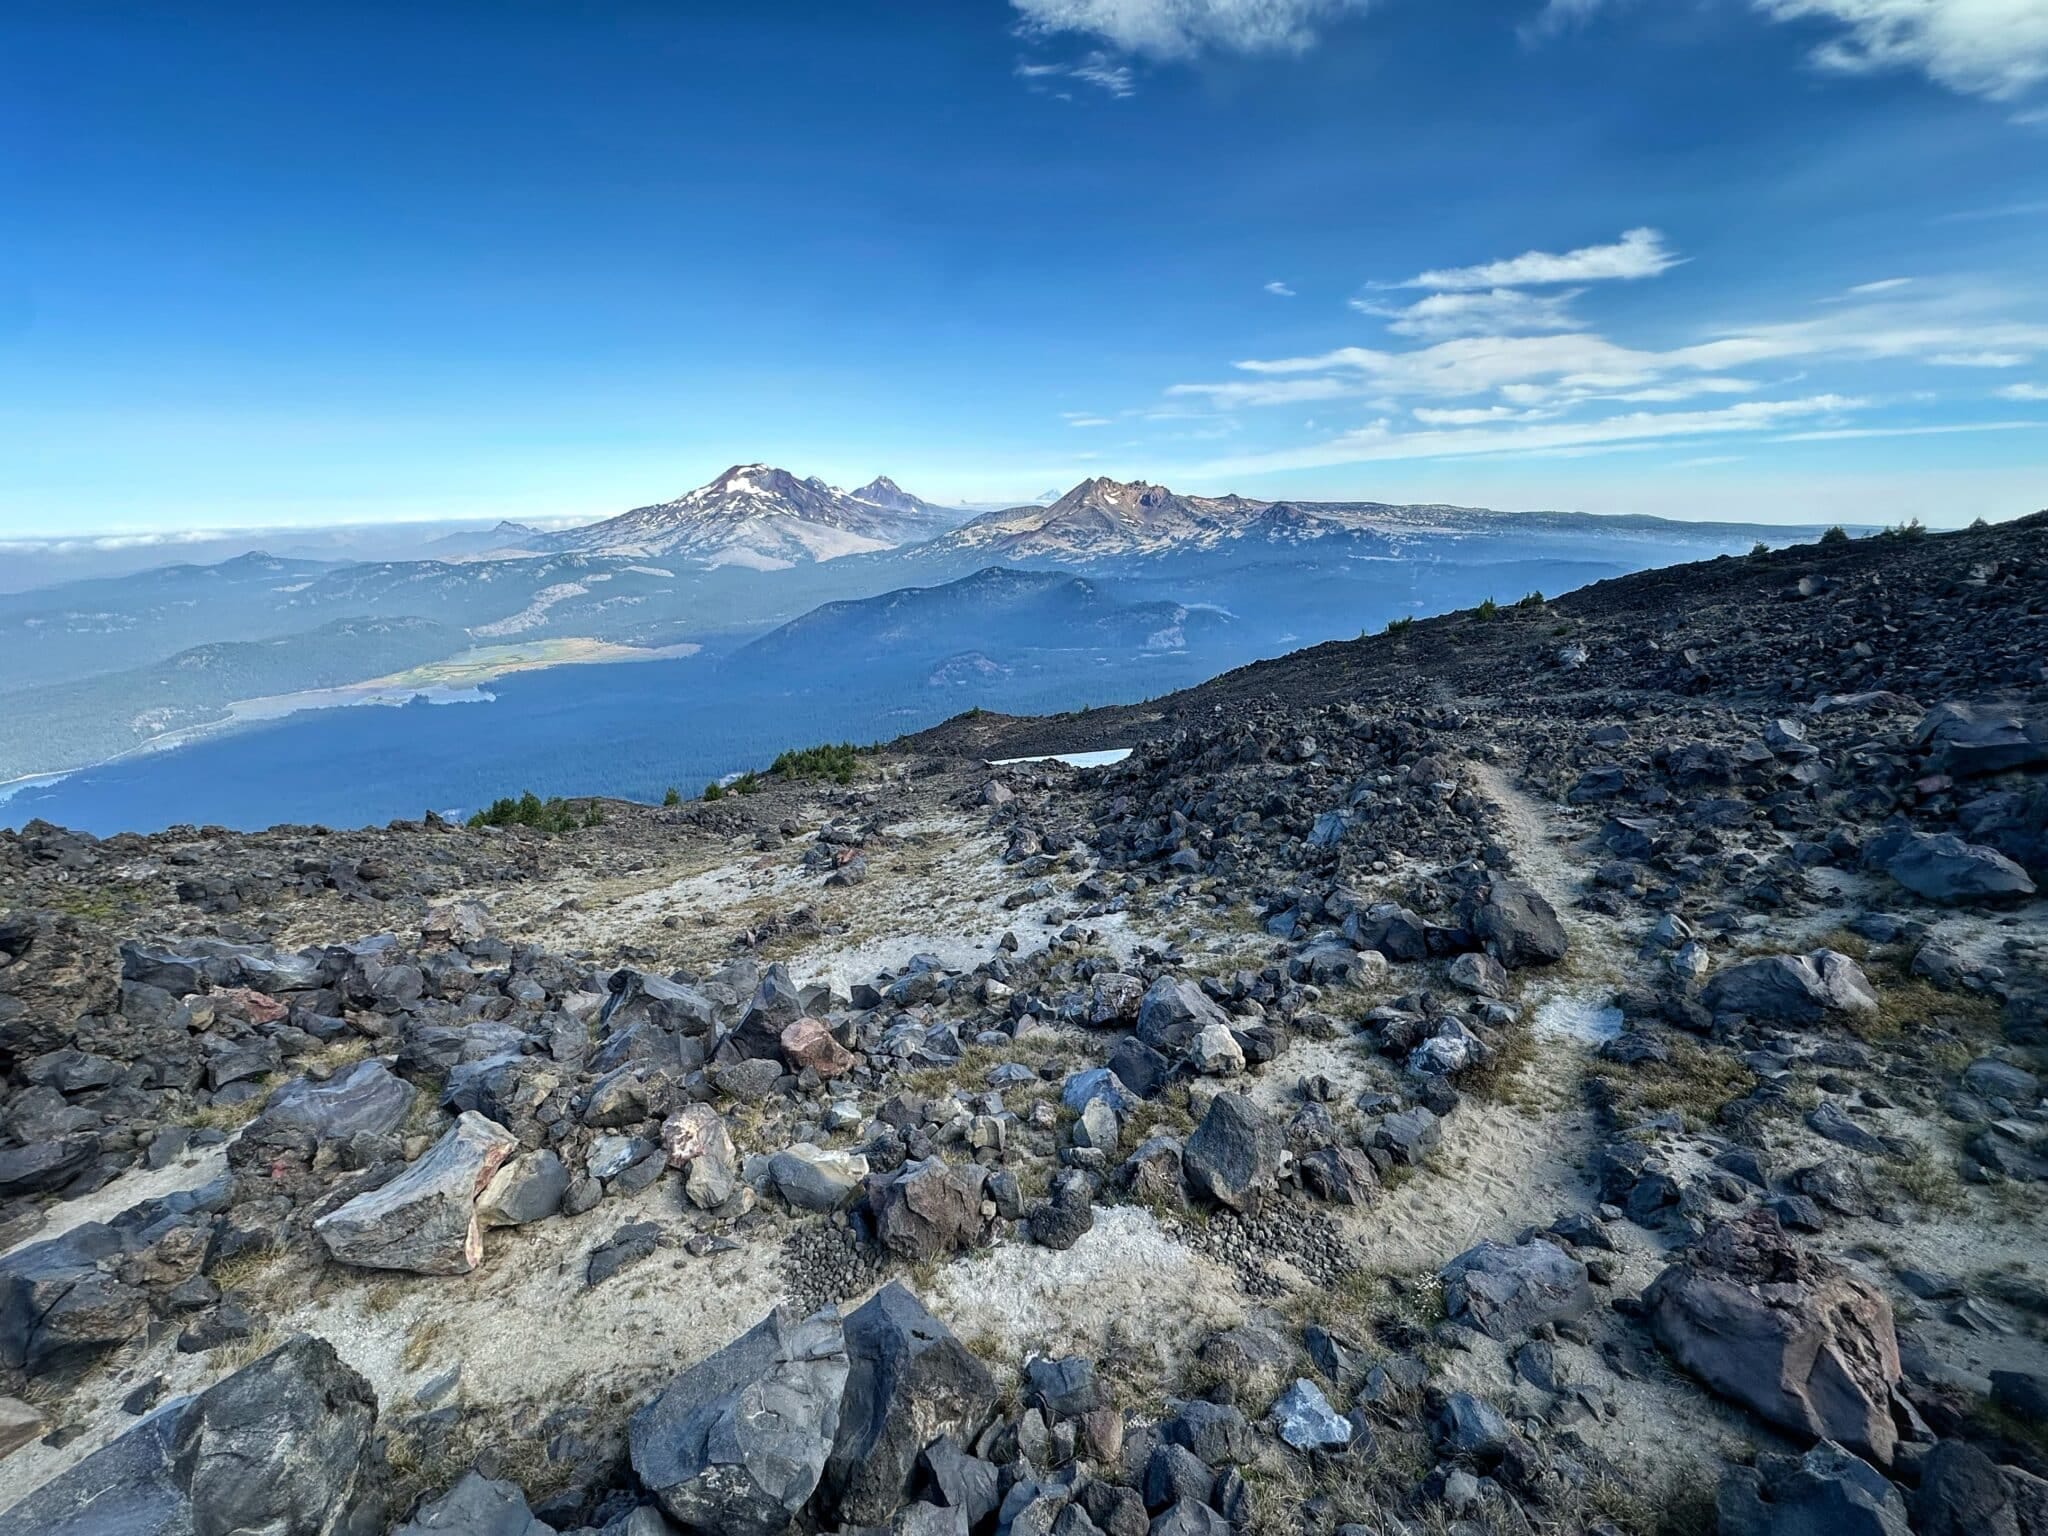
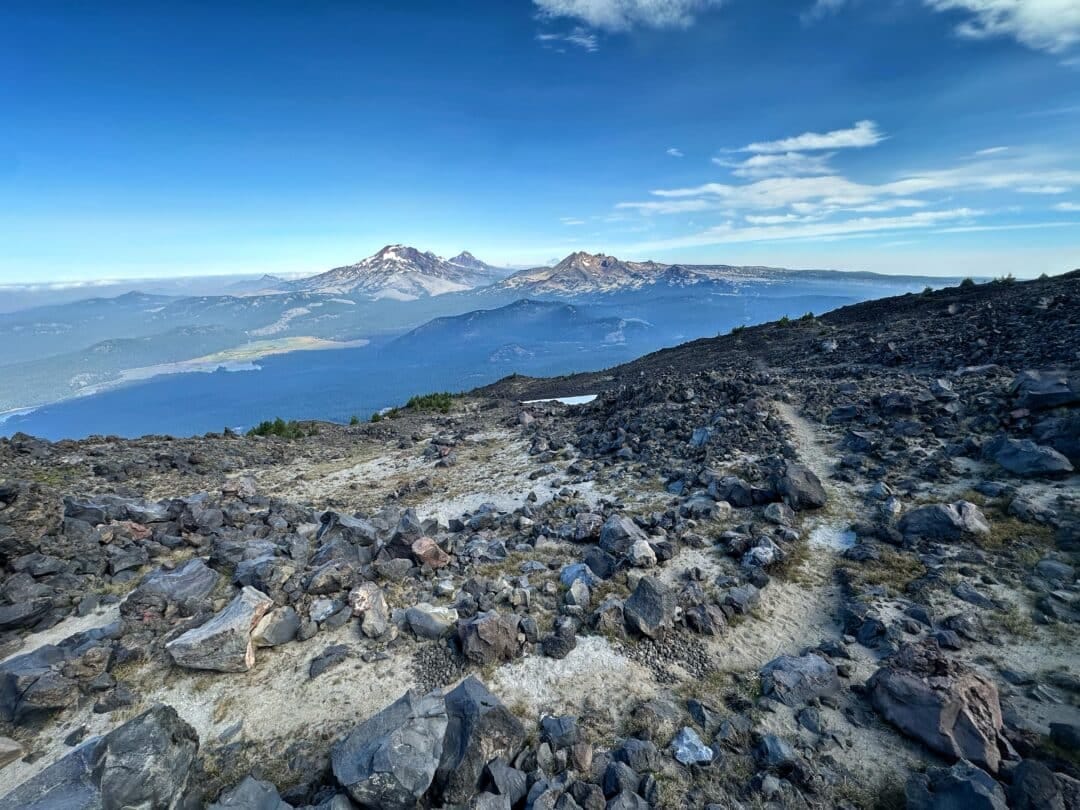
Summit East is 1.5 miles and 1,658 feet, which works out to about 21% grade. The trail leaves the last of the trees almost immediately and starts switchbacking up the east flank on lava and pumice. Not smooth lava — the jagged, ankle-turning block variety packed into a trail that’s been beaten into place by two decades of boots. Footing is reasonable but requires attention. There is no shade and no water, and the pitch is reasonably suystained and broken only by a few switchbacks. On a clear July afternoon it’s a genuinely hot, exposed grind with a great view to keep your mind off your legs.
The last few hundred feet ease off onto the broad summit dome. Nine thousand and sixty-eight feet, a lift shack, and one of the better volcano views in the state: Broken Top and the Three Sisters lined up to the north, Diamond Peak and Thielsen strung out south, the whole Cascade Lakes basin laid out below you. Follow the doubletrack access road around up and around to the actual summit.
Going down
- Reverse it. The fastest and most direct route. The loose nature of the trail eases some of the downhill punishment but tread carefully.
- Loop it. Drop the West Ridge trail through the cirque and pick up the Evergreen hiking trail to the base. Significantly longer, a bit gentler, better scenery, and you get a different view of the mountain on the way down.
- Download. Descend to Pine Marten Lodge by the West Ridge or by descending the East ridge to Sunrise and cutting across on the service road. Then download and ride Pine Marten Express to the base. When the lift is spinning — generally weekends into early October — foot passengers have historically been able to download at no charge, but the resort changes its summer operations plan from year to year, so check before you count on it.
The Alternative: Tumalo Mountain
Bachelor doesn’t usually melt out until well into July and early snow can obscure its upper reaches in October. When Bachelor isn’t accessible, or you have ninety minutes and not a hundred and twenty Tumalo Mountain makes a great alternative.
| Metric | Tumalo Mountain |
| Trailhead | Dutchman Flat Sno-Park, ~22 miles west of Bend on Cascade Lakes Hwy |
| Summit | 7,779 ft |
| Distance, one way | 1.8–2.1 miles |
| Distance, round trip | 3.5–4.2 miles |
| Vertical gain | 1,300 ft |
| Average grade | 13–14% |
| Season | Mid-July to November |
| Cost | NW Forest Pass required to park in summer. |
| FKT Up (W) | Camila Noe 22:10 |
| FKT Round Trip (W) | Sarah Burke 36:11 |
| FKT Up (M) | Andrew Payton, 20:28 |
| FKT Round Trip (M) | Mario Mendoza Jr., 31:32 |
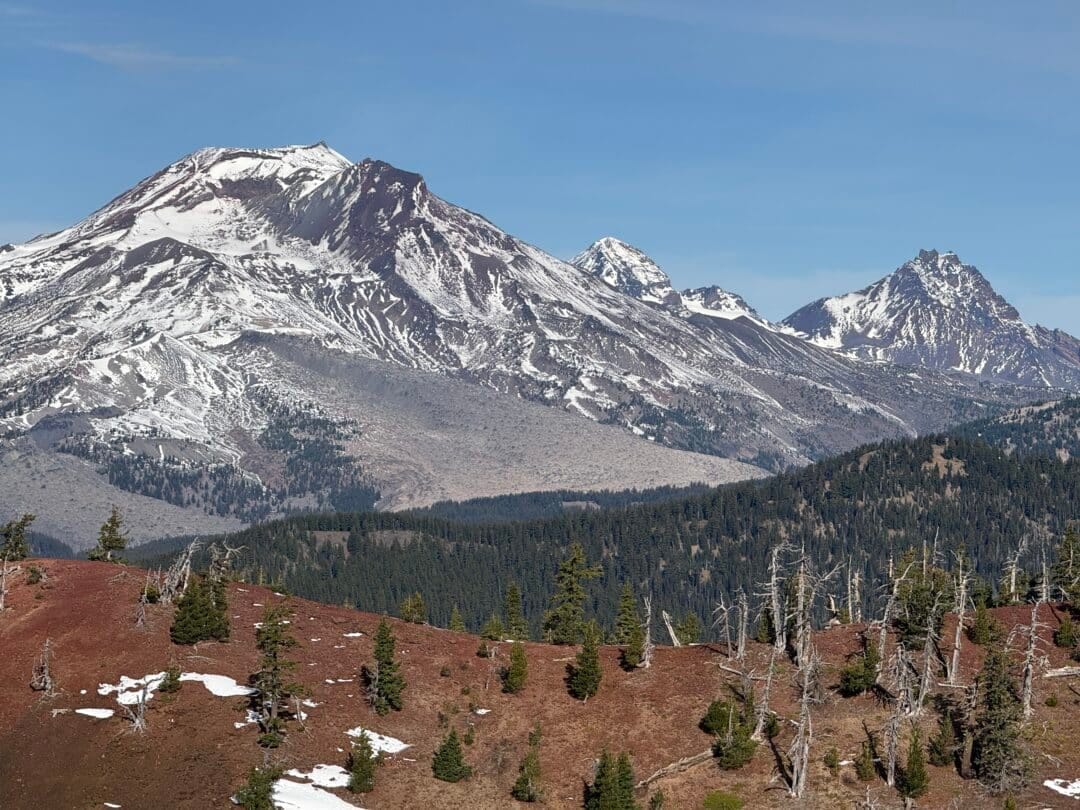
Brief Description: Beginning at Dutchman Snowpark catch the Tumalo Mountain trail ascending from just East of the pit toilet. It ascends immediately into the trees at a good grade— if you find yourself on rolling trail you went astray and are heading North instead of up. Through the trees the trail switchbacks steeply and then takes a diagonal ascent upwards through the subalpine terrain with gradually thinning trees. Cinder becomes the dominant surface as the trail backs to the West and becomes more exposed, leading to the broad summit and excellent views of the Sisters and Broken top. Reverse the route to descend.
Leave a Reply
You must be logged in to post a comment.