
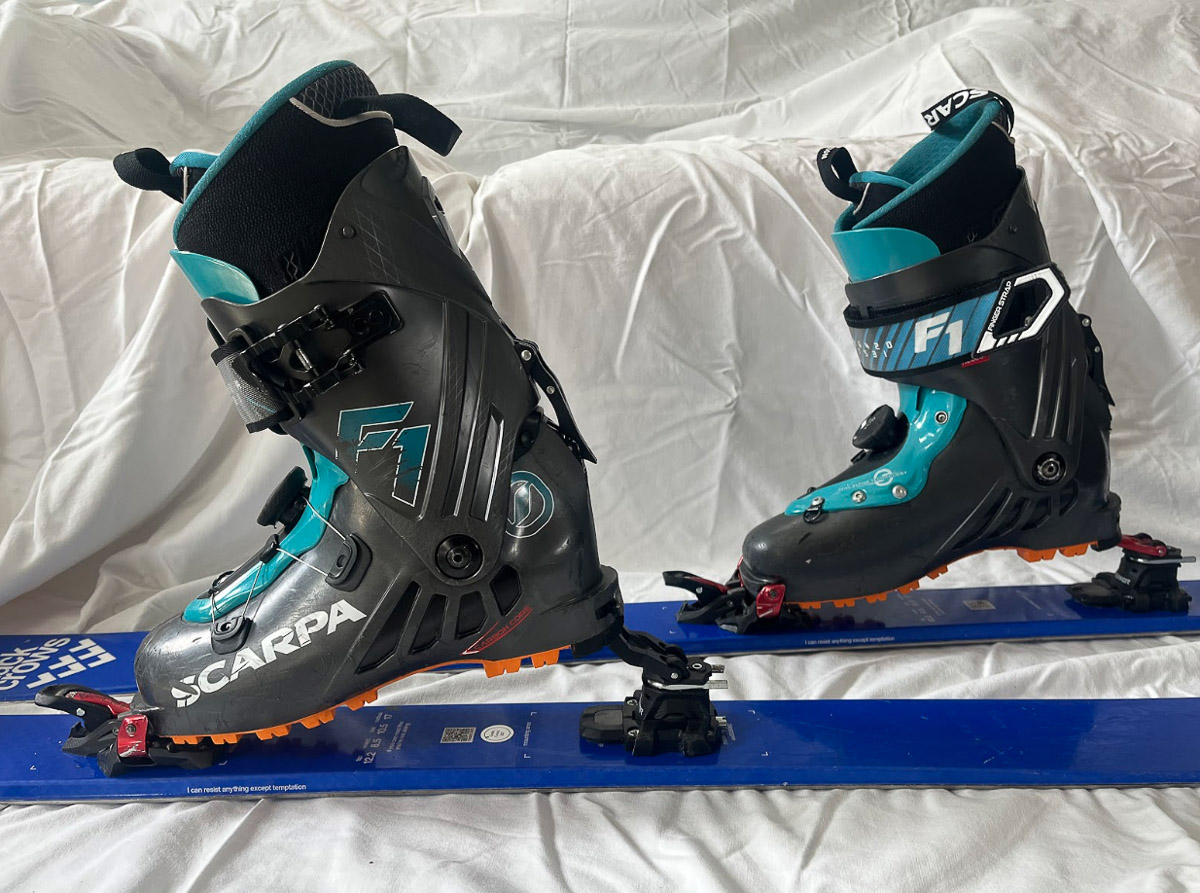
The Tahoe Trail Tools Heel Up! riser performs as advertised: it increases Marker Alpinist riser heights by 12mm in both medium and high modes, making the binding easier to tour on steep skin tracks. It was as easy to install as the manufacturer claims; if I can do it, you can, too. Best of all, it’s a replacement Alpinist heel riser—the only one available, in fact. So when your OEM risers wear out and start to flop, the Tahoe Trail Tools option is a high-quality repair that obviates the need for janky MacGyvers. That said, there are a couple of minor tweaks that would make the Heel Up! even better, so they’re not quite a perfect 10 – but they’re darn close.
Tahoe Trail Tools markets the Heel Up! as a solution to a common complaint with Marker’s lightweight tech binding: the risers are too low. The Alpinist’s highest riser is comparable to most other bindings’ medium height, making them challenging to use on steeper skintracks. Heel Up! adds 12mm of height to the medium and high riser positions, bringing the Alpinist in line with the competition.
My interest in Heel Up! was not driven by a desire for more riser height. Instead, I was looking for a replacement for my stock risers, which had worn out to the point that they would flop around while touring, flipping from high position to flat, and from medium to pins.
Installation
First, the installation was as easy as the online instructions claimed. My ski tech skills don’t extend much beyond running a diamond stone along my edges a couple of times a season, so I assumed binding surgery would be beyond me. It’s not. If you’re intimidated, don’t be. You can do this.
That said, it takes a full toolbox to execute this project: a 3mm punch, a hammer, a section of 2×4, an electric drill with a quarter-inch bit (to drill a hole in the 2×4), and, most exotic, a pair of channel lock pliers. I already owned everything but the channel lock pliers and the 3mm punch. That was about $50 worth of tools I had to buy in addition to the $65 price tag for the risers themselves, but your mileage may vary. All in all, it was a worthy investment to refresh a pair of well-loved bindings.
Amid the install, I weighed the old risers against the new ones. My wife’s kitchen scale confirmed Tahoe Trail Tools’s claimed 9gm weight penalty for Heel Up! A tiny increase over the stock riser for a considerably beefier-looking part.

Touring
Spring came early to the Southern half of New England this year, but I was lucky enough to catch the last of the snow at a prematurely closed-for-the-season Crotched Mountain, where I snagged a few hot laps in tee-shirt weather. It was just enough vert to test the Heel Up! properly.
Instead of taking the winding (read: efficient) green circle trail—Galaxy—to the summit, as I usually do (with a smug sense of superiority), I condescended to join the noobs on the brute-force-and-ignorance route up the fall-line Meteor trail.
Flipping the Heel Up! from flat to high position, the first thing I noticed was the stiff action; to flip them required several taps from my ski pole. The old ones were a little easier to manipulate, but I suspect these will last a lot longer before wearing out.
The truly high high position Heel Up! offers made quick work of the steep ascent. In the past, when I followed this line on the stock Alpinist risers, I regretted it. This time, I wondered if I’d been taking the wrong route to the top for the past five years. Maybe the “noobs” could teach me a thing or two…. Those extra 12 millimeters made touring on the steeps noticeably more comfortable.
When the slope moderated, I attempted to rotate my heel pieces with my pole – something that Tahoe Trail Tools claims is easier to do with Heel Up! so that I could enter the medium riser position. I’ve never tried this with the stock riser, but didmanage to rotate one Heel Up!-equipped heel mast with my pole. Though no fault of Tahoe Trail Tools, the Alpinist heel mast detent is so stiff that I still find it easier to kneel and spin the heel piece by hand.
Here’s where my one criticism comes into play, and it’s hardly a criticism. I’m reaching here—reaching far—for something to criticize because nothing’s perfect.
The Heel Up! riser is very blocky. Its edges are squared, whereas the stock riser is more rounded, with gentler edges. Call me a wuss, but when I pushed on the Heel Up! with my bare hand to rotate the heel mast, those sharp edges hurt a bit—just a little. The stock riser is more comfortable in the hand. Seeing as I often go gloveless on the skintrack, even in colder weather, I wish Heel Up! wasn’t so square.
On the second lap, I followed my usual skintrack (the efficient one) to make sure I compared apples-to-apples between the old and new setups. With the higher risers, I found myself using the medium position in places where I used to use the high one. This required heel mast rotations that were unnecessary before, which threw off my rhythm a bit. So be advised: if you’ve got a particular skintrack dialed in on your stock Alpinist bindings, you may have to change your routine after you install the Heel Up!
On the other hand, I can think of a few other skin tracks where the added height will be a boon. I don’t ski them as much as I skin Crotched, but when I do, I’ll be thankful to have swapped out the old risers for something taller.
A couple of laps later, I repeated the steep fall-line ascent with my other pair of skis mounted with ATK Crest 10 bindings. With the new risers, my Alpinists felt comparable to the Crests, thus confirming that Tahoe Trail Tools succeeded in bringing the Alpinist in line with typical riser heights.
Also significant were the things I didn’t notice when skinning with Heel Up! As the stock Alpinist risers wore out, the heel would occasionally go mushy on me and give as I weighted it, particularly in the high riser position. It felt like walking on a trampoline. I did not experience this with Heel Up! That may change as I rack up the vert on these things, but I have reason to believe Tahoe Trail Tools has addressed the issue for good. (See the Bonus section below).


The bottom line is that I recommend Heel Up! Whether your stock Alpinist risers are worn out and need to be replaced, or you’re looking for a little more lift for steep skin tracks, Heel Up! delivers what you need in a solid yet lightweight package, with only the slightest drawbacks.
A peek inside Tahoe Trail Tools and the development of Heel Up!
As you might have guessed from a nifty little gadget like Heel Up!, Tahoe Trail Tools is itself a nifty little company specializing in nifty little gadgets—products that you never knew you needed until that little aluminum doodad you took for granted failed, turning your ultralight bit of kit into something even less useful than a paperweight. Tahoe Trail Tools are perhaps best known for their Strap Off! velcro strap adapter for touring boots. But they also make a few other products, like steel bleed screws for Shimano mountain bike brakes.
Collin Huston is the one-person band behind Tahoe Trail Tools. He’s an engineer (no surprise there) who used to work at Apple, where he helped manage iPhone production in China. After tiring of his desk job, he left Apple to open a machine shop. As a side gig, he’s the Head of Operations for Apogee Bikes. I guess that makes Tahoe Trail Tools Huston’s side gig to his side gig.
“Tahoe Trail Tools started as my creative outlet for product design,” Huston told me, contrasting it with his day job, where he fabricates parts according to customers’ specifications rather than designing them from the ground up. However, he won’t be quitting his day job any time soon. According to Huston, design and fabrication are the easy steps to running an outdoor brand; marketing is the hard part, and it’s not in his blood. If you’ve ever heard of his company, it’s been through word of mouth or the odd post on the Teton Gravity forums.
However, solving niche problems for ski touring friends is in Huston’s blood. Heel Up! was inspired by his friend Nils, an Alpinist binding fan who thought the binding’s biggest shortcoming (literally) was the heel riser. Together, Nils and Huston went through numerous prototypes, tweaking everything from the feel of the detent when the riser is in a neutral vertical position (much more solid than the stock riser) to the size of the contact patch between the riser and boot sole (broader and flatter than the stock riser, which is a narrow blade-like edge).
Huston told me these two features improve the transfer of forces from your boot into the heel mast, reducing wear and eliminating the mushiness I wrote about above.
Finally, the biggest improvement is the increased riser height that Tahoe Trail Tools touts on its website.
I asked Collin if it would be possible to install Heel Up! backward so that a high position would be engaged when the heel pins face forward and medium when they face backward to avoid having to change up my rhythm on my home skintrack—he warned me in the strongest terms against trying this. Like the stock risers, Heel Up! is asymmetrical; the heel mast is designed to contact the riser at different points on the high side versus the medium side. You’d probably break the binding if you installed Heel Up! backward.
Collin also advised the Clydesdales among us to think twice about modifying their Alpinists. If you weigh over 250 pounds, you may want to stick with the OEM hardware. That’s not to say the rest of us should have any durability concerns: Collin said that one of his original product testers has over 100 days of touring on Heel Up! with no issues. That’s a hell of a lot more than I had on my Alpinists when the stock risers started to fail. (As a point of reference, I’m about 160-170 pounds all geared up).
I never would have imagined there was so much engineering packed into a 22-gram chunk of aluminum, but it is clear that Huston and his guinea pigs put a lot of thought into Heel-Up! When I asked Huston how he liked his creation, his answer surprised me:
“Andrew. I’m gonna tell you my dirty little secret – I’m a splitboarder!”
Despite any misgivings we backcountry skiers may have about using equipment designed and manufactured by one of our splitboarding cousins, I have to say – Heel Up! works as advertised. Which is to say, they’re great. We’ll have to tack it onto the end of the list of technological improvements snowboarders have gifted us skiers: twin tips, fat waists, and now Heel Up! risers.


Leave a Reply
You must be logged in to post a comment.