Skin glue and dry/dirty ski bases are often not simpatico. Have no fear, a ski base and skin-glue cleanup is a pretty hassle free process.


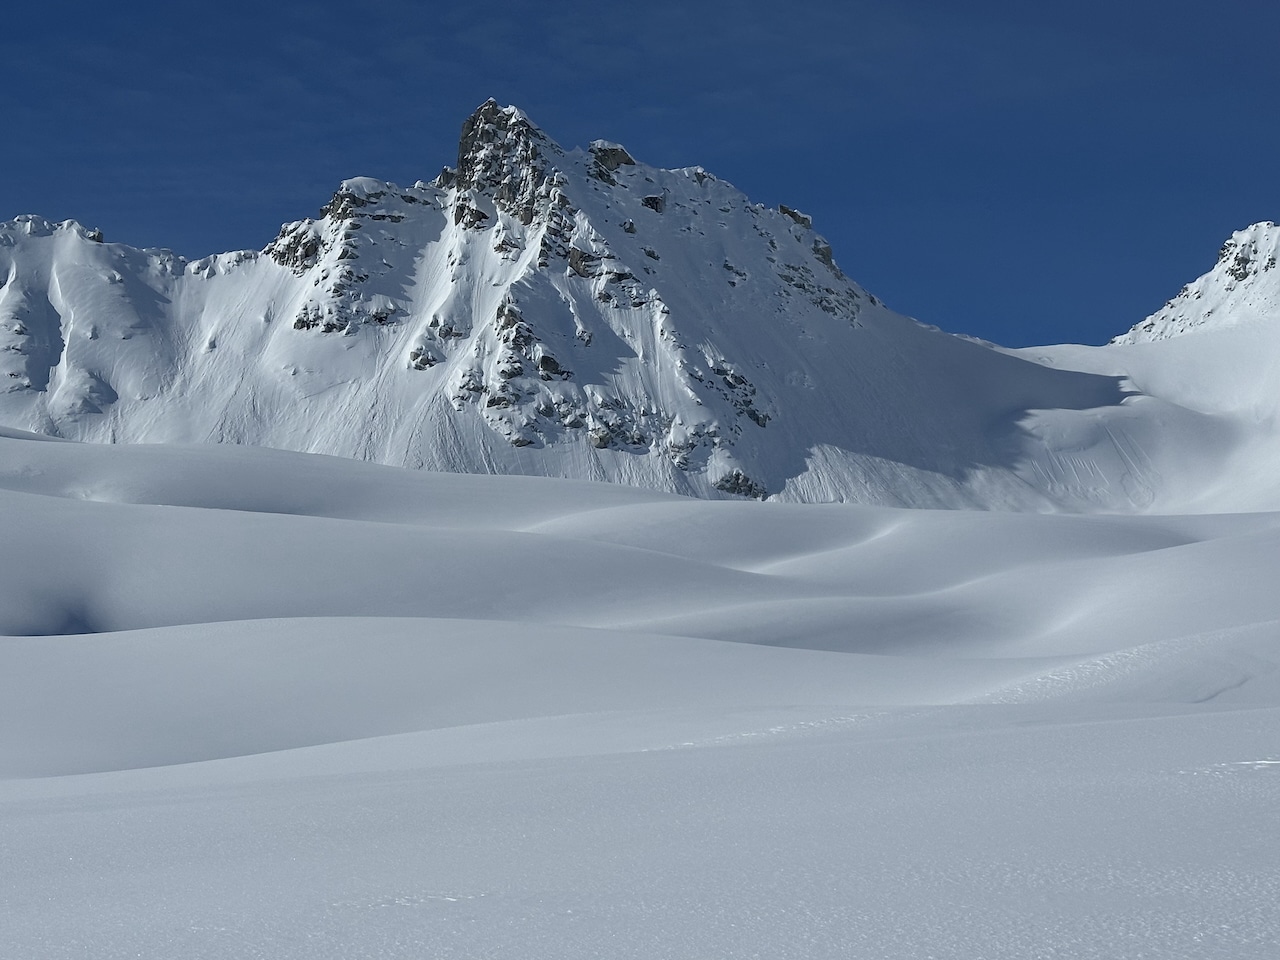
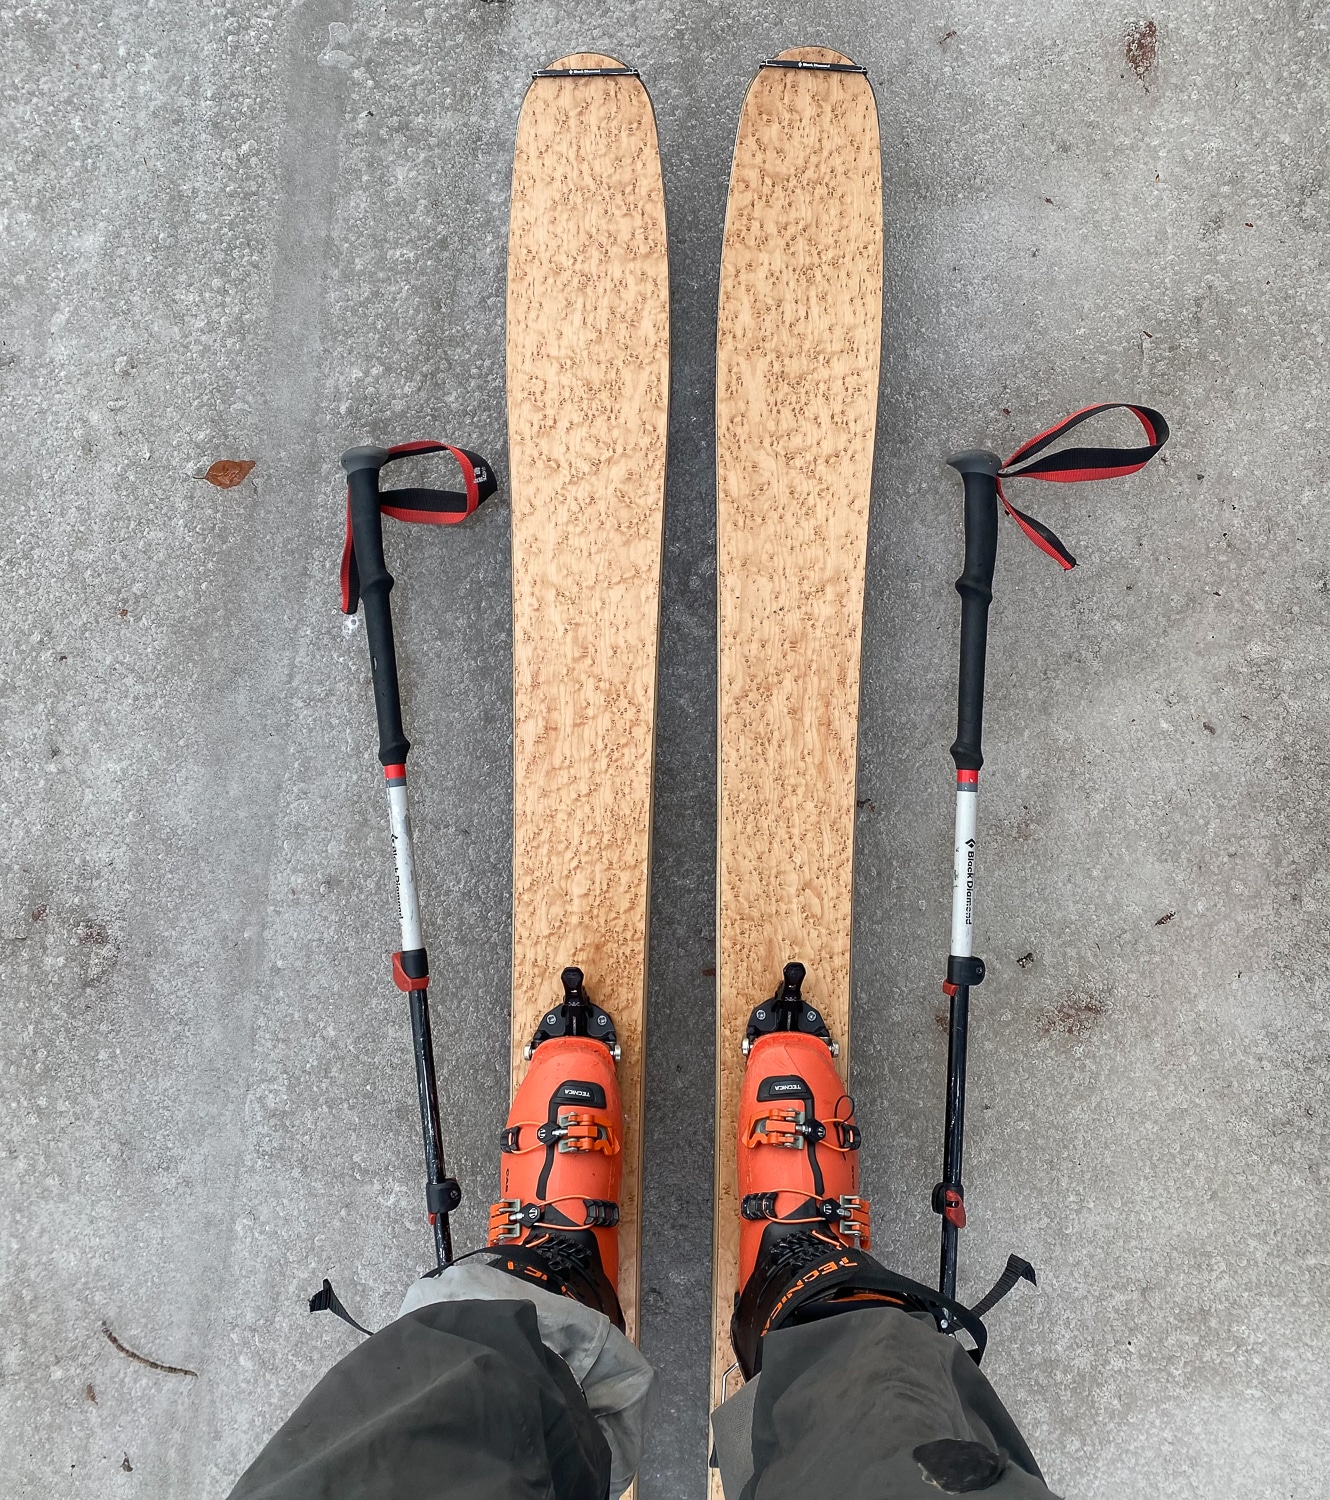
The local theme has been excellent spring conditions in late fall/early winter. With all seriousness—despite what this season might foretell in terms of the climate crisis—the skiing has been so fine the past few weeks. The point is this: rather than ensuring the 112 powder boards are primed and ready (which they are) and clicking into those powder pontoons, I’ve become reacquainted with my 171cm Zero G 95 planks. A plank I think of as my steeper skiing, firmer snow, objective-specific friends. Read that as a ski I reach for in spring when the freeze and thaw and freeze and thaw does its thing and corn happens. Or maybe just a version of ice happens. 


The Onset of the Problem

This is really a tale of a ski base-skin glue marriage gone awry. I got a bit lazy last spring. On April 3, a doctor repaired a knee I had damaged a few years back. Just before that date, I had a better date with a literal force of nature, Stratton Matteson, on Mount Jefferson. After miles of skinning across dirty and fir-needle-infested snow (with the ZG 95 + skins) on the approach and a harrowing dim-headlamp descent from Pamelia Lake post Jefferson-jaunt, I came home satisfied and ready for surgery. I plopped the skis and their dirty bases in the basement. I folded the even dirtier skins glug-to-glue and stuck them in the cool basement. (Bad me. I should have placed the skins on some backer and not stuck them together.) I’d find time later to deal with the base and skin glue grime. 

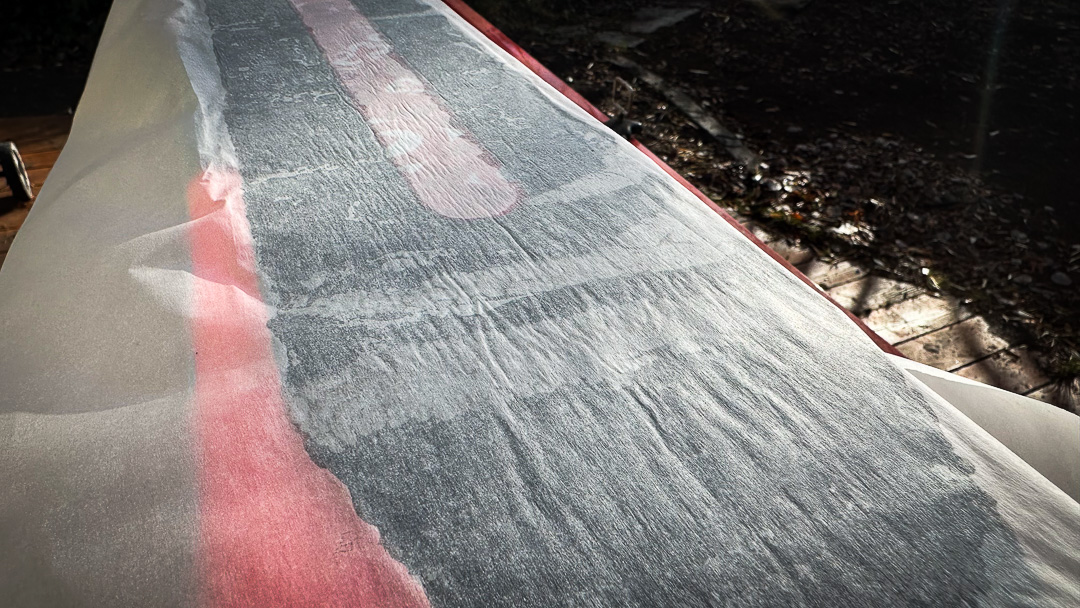
The Problem (see images above)

Recently, mid-tour, as we transitioned from skis to crampons, I ripped skins off the ski’s bases. The very sticky G3 glue didn’t so much separate from the bases smoothly as express a defiant and oh-so-tacky groan. Splotched on the bases like snot was skin glue. 

Many might nail down what precisely is/was at fault. I, for sure, am at fault. Other than that, many variables are in play. 

  • Dirty ski bases 
  • Dry ski bases (skins peel off properly waxed bases easily)
  • Skin glue left somewhat dirty and debris-ridden.
  • Skins adhered glue side to glue side in a semi-cool place all summer. I brought the skins (still glue to glue) upstairs this fall into a warmer environment, allowing the glue to warm a bit. (Another mistake.)


In this case, we're using a citrus based solvent to chemically remove the skin glue from the ski base.

In this case, we’re using a citrus based solvent to chemically remove the skin glue from the ski base.’


A clean base—post skin glue removal and set to be hot waxed.

A clean base—post skin glue removal and set to be hot waxed.


The Solution

Although I was nervous the glue on the bases would be grabby while descending, that didn’t happen. But the ski bases and skin glue needed some DIY clean-up love. Overall, the solution to clean and wax bases took around 20-25 minutes. Tack on another 20 minutes to clean the skins up.

Step 1: Use a citrus base cleaner to clean dirt and skin glue off the ski base. Apply base cleaner to a rag/paper towel, and use some elbow grease. Some folks simply hot wax the skibase (I will go over that step next) to remove the glue.  

Step 2: Hot wax/scrape the base; this helps clean and wax the ski base. Drip a yellow (warmer temp) wax on the base, and run the iron over the base until the wax is molten. Before the wax completely cools and hardens, use a scraper to remove the wax. No need to be too aggressive; pull the scraper from tip to tail. If the bases are dirty, as mine were, the wax becomes slightly discolored as it picks up some of the base grime.

Step 3: Brush the bases out (tip to tail) with a manual wax brush or roto-brush if you have that setup. Your bases should be shiny—and your skins should rip from your ski bases a bit easier.

Step 4: This last step is for smoothing out/redistributing the skin glue. Although it may initially seem like the process could be a headache, it is not. 

—Lay the skin (glue side up) on a flat surface.

—Lay parchment paper down the length of the ski (shiny side down against the glue).

—Run iron tip to tail several times. I don’t have a fancy wax iron with digital temp settings. I crank the iron settings up a bit, as I want it to soften the skin glue, but I move the iron quickly so as not to overheat the base/ski/paper. If I sense the glue remains lumpy in a spot, I run the iron back and forth over that spot.    

Step 5: Do not remove the parchment paper. Place the skins in a freezer for the day (maybe overnight). Remove the skins from the freezer, remove parchment paper (which should peel pretty easily), and you are good to ski and skin.


The base is waxed—in this case, the wax is removed with a rotobrush.

The base is waxed—in this case, the wax is removed with a rotobrush.


The process for cleaning the skin glue and redistributing it more evenly on the skin. Cover skin with parchment paper (non-stick side down) and apply heat via a wax iron, ensuring the glue becomes molten to spread evenly.

The process for smoothing/redistributing glue. Cover skin with parchment paper (non-stick side down) and apply heat via a wax iron, ensuring the glue becomes molten to spread evenly.


Skins with parchment paper applied to the glue-side, sitting in the freezer.

Skins with parchment paper applied to the glue-side, sitting in the freezer.


Using Brown Paper Bag to Remove Excess Glue

Let’s call these next steps a 4b and 5b. This step can replace step 4 above or can be add ons if you feel like the parchment paper treatment was insufficient.


Step 4b: If the glue side of your skin is a straight-up hot and lumpy mess, have no fear.

—Lay the skin (glue side up) on a flat surface.

—Lay strips of brown paper bag down the length of the ski instead of the parchment paper. 

—Run iron tip to tail several times.

—The brown paper absorbs some of the glue, which isn’t such a bad thing if the glue surface is lumpy and the glue must be redistributed. The process should also help remove dirt and small detritus from the skins. You can also use a tweezer to remove detritus.

—Another strategy to smooth out the glue is to use a small roller (think small roller pin). This might seem overkill, but I have a small wooden roller (used to work with carbon fiber and smooth out/remove epoxy) that I’ve used to roll atop the brown paper bag to smooth/redistribute the glue once the glue is warmed. 

Step 5b: If you’ve gone the paper bag route (step 4b), remove the brown paper bag as you go—it should peel smoothly off the glue. Work small sections of, say, a foot in length, allowing the glue to remain somewhat warm as you peel the bag off. If the bag is tough to remove, repeat the warming and rolling, and try to unpeel again.