
There is a particular hour that arrives on a chilly, clear weeknight. Late enough that the sky has mostly dimmed, early enough that responsibilities still hum in the inbox, when you might notice your skis or board leaning by the door. They look tired in the way tools do when they’ve done what you’ve asked…
An Offering: Waxing Skis/Boards for some Zen
On this, the day before U.S. Thanksgiving, we provide a timeworn recipe and a offering for the planks and boards that provide.
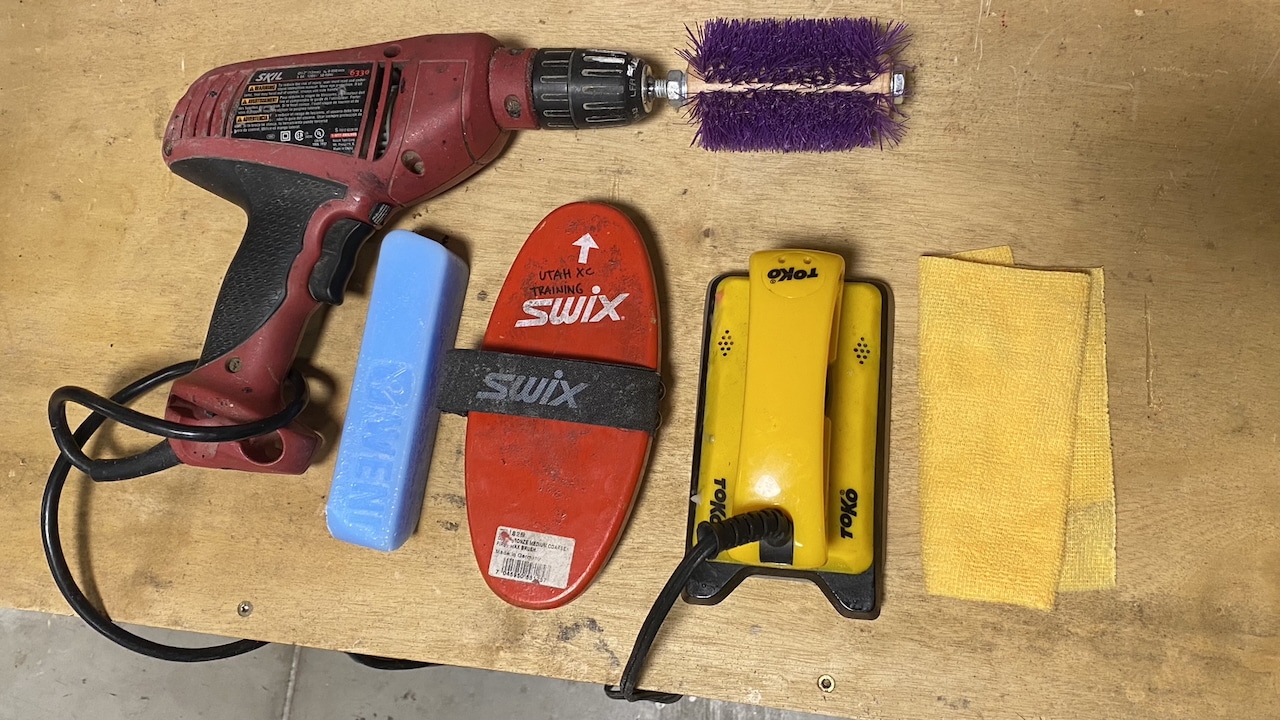
Your ski/ board waxing ingredients.
Responses
-
A. Stoned
B. Focused
C. Meditating
D. Hiding in the garage
E. All of the above
Talking to you, dads/moms… -
Just ordered a livestock brush, tbd if I just got punked by Barry
-
We’d love third-party verification on the Goat-Leg-Hair Training Roto Brush. The price is right, though.
-
Ha, gottcha Brody!
-
-
I feel as if there’s a persistent attitude in the backcountry/touring community that waxing and general ski maintenance matters less there than resort riding. But when your day depends on efficiently gliding through undulating terrain and variable snow conditions, obviously the opposite is true. I’m excited to try the method of rubbing in wax followed by some iron passes; scraping is far and away the worst part of ski waxing.
-
Hey Jeremiah, I agree that a proper wax makes any ski day better, especially at the end of a ski tour when we are tired and cold and the traverse back to the lot is annoyingly flat and long. Wax for the win here for sure. Hopefully this quick and easy wax technique will get more folks gliding easy!
-
A good wax job also helps keep your glue on your skins, not your bases
-
-
Loosen hardware when waxing splitboard?
I always loosen the binding hardware on my regular snowboards to prevent “base dimpling”.
Any thoughts on loosening cleats/pucks, toes, riser hardware when waxing splitboards?
-
Hey Cor, loosening/removing hardware certainly doesn’t hurt. I think as long as you don’t go crazy with your iron temps and timing, it’s not that big of a deal though. I don’t bother with removal on my own board and havent had a problem, but I am sure it doesn’t hurt to be extra cautious.
-
Thanks Barry.
Managing the temperature of the iron is most likely the best way to stay out of trouble, but in addition to temperature control I will continue to loosen the hardware on my boards (regular or split) to keep things simple by following the same process for any board that I wax…
P.S. Doing this is also a good way to make sure that my all screws are properly tightened.
-
Latest Features
-
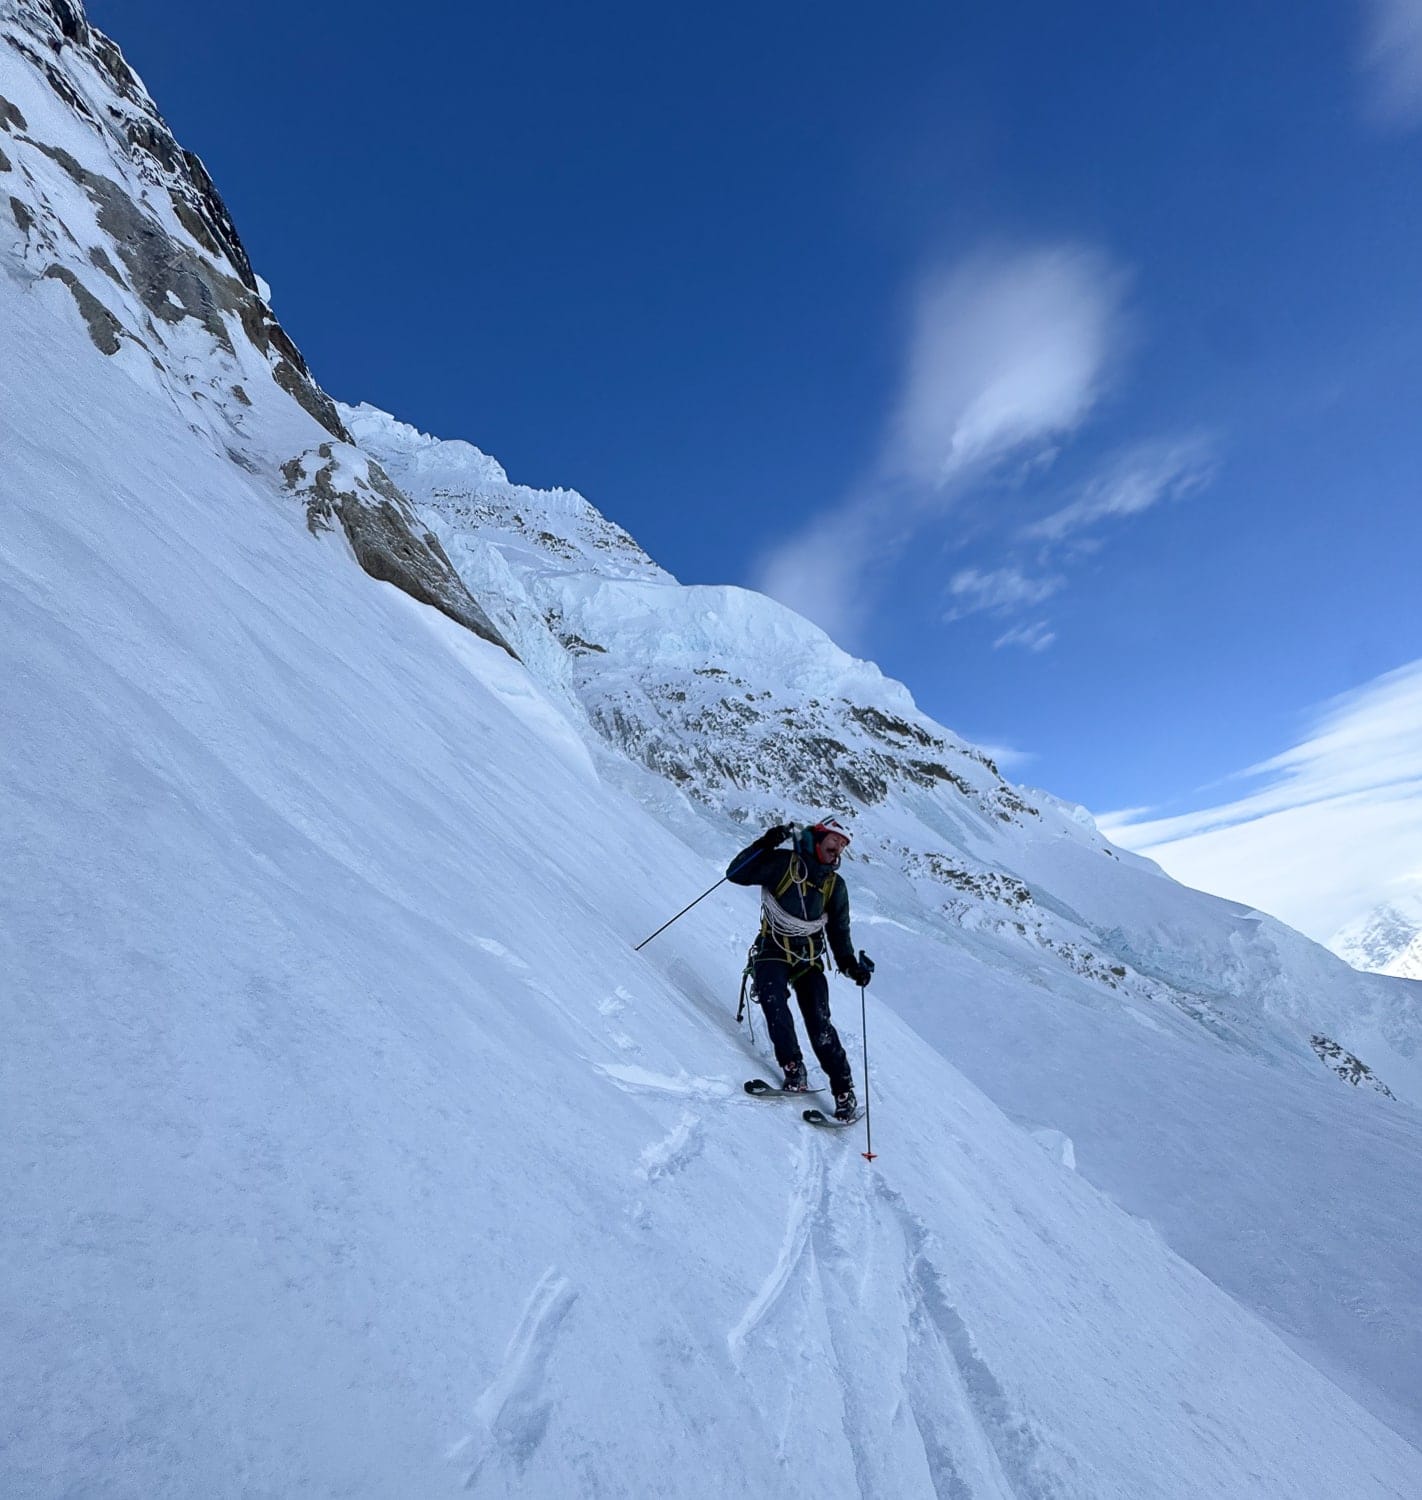
Ryan Griffiths, somewhere cold. Photo: Aidan Whitelaw
The High Route Podcast
The Progression Episode with Ryan Griffiths
-
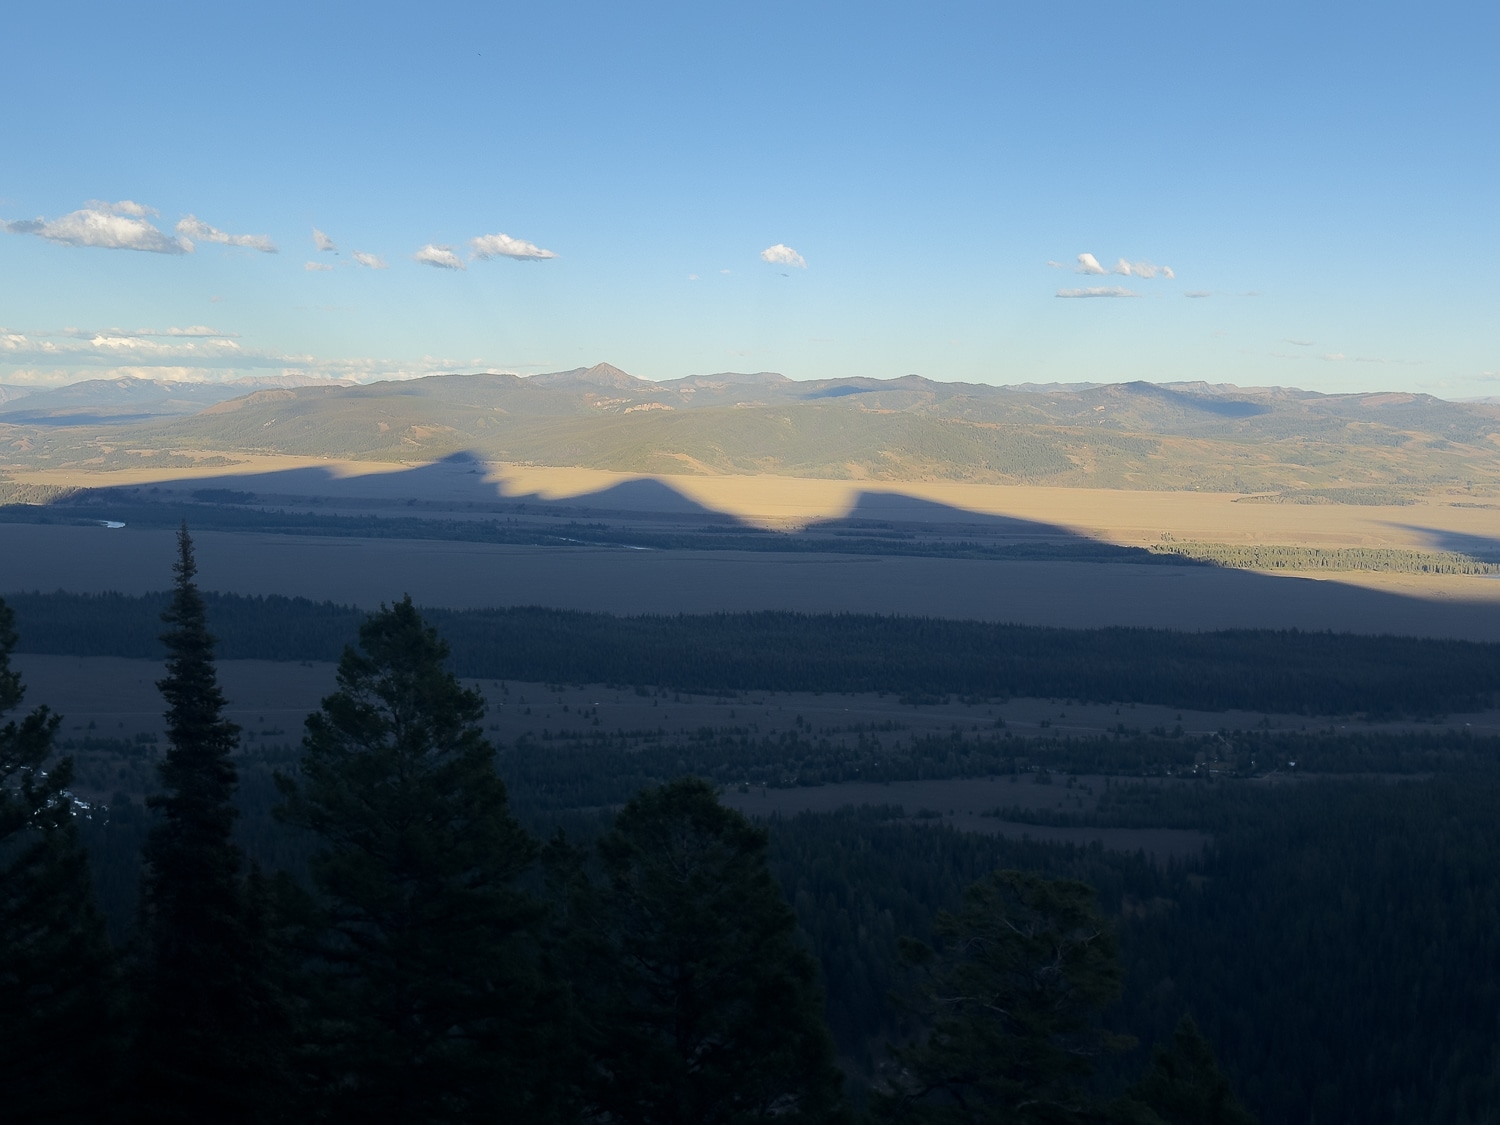
Teton shadows extending toward the Gros Ventre.
Public Lands and the Touring Scene
A look at proposed rule changes in the public lands space that could affect the touring scene.
-
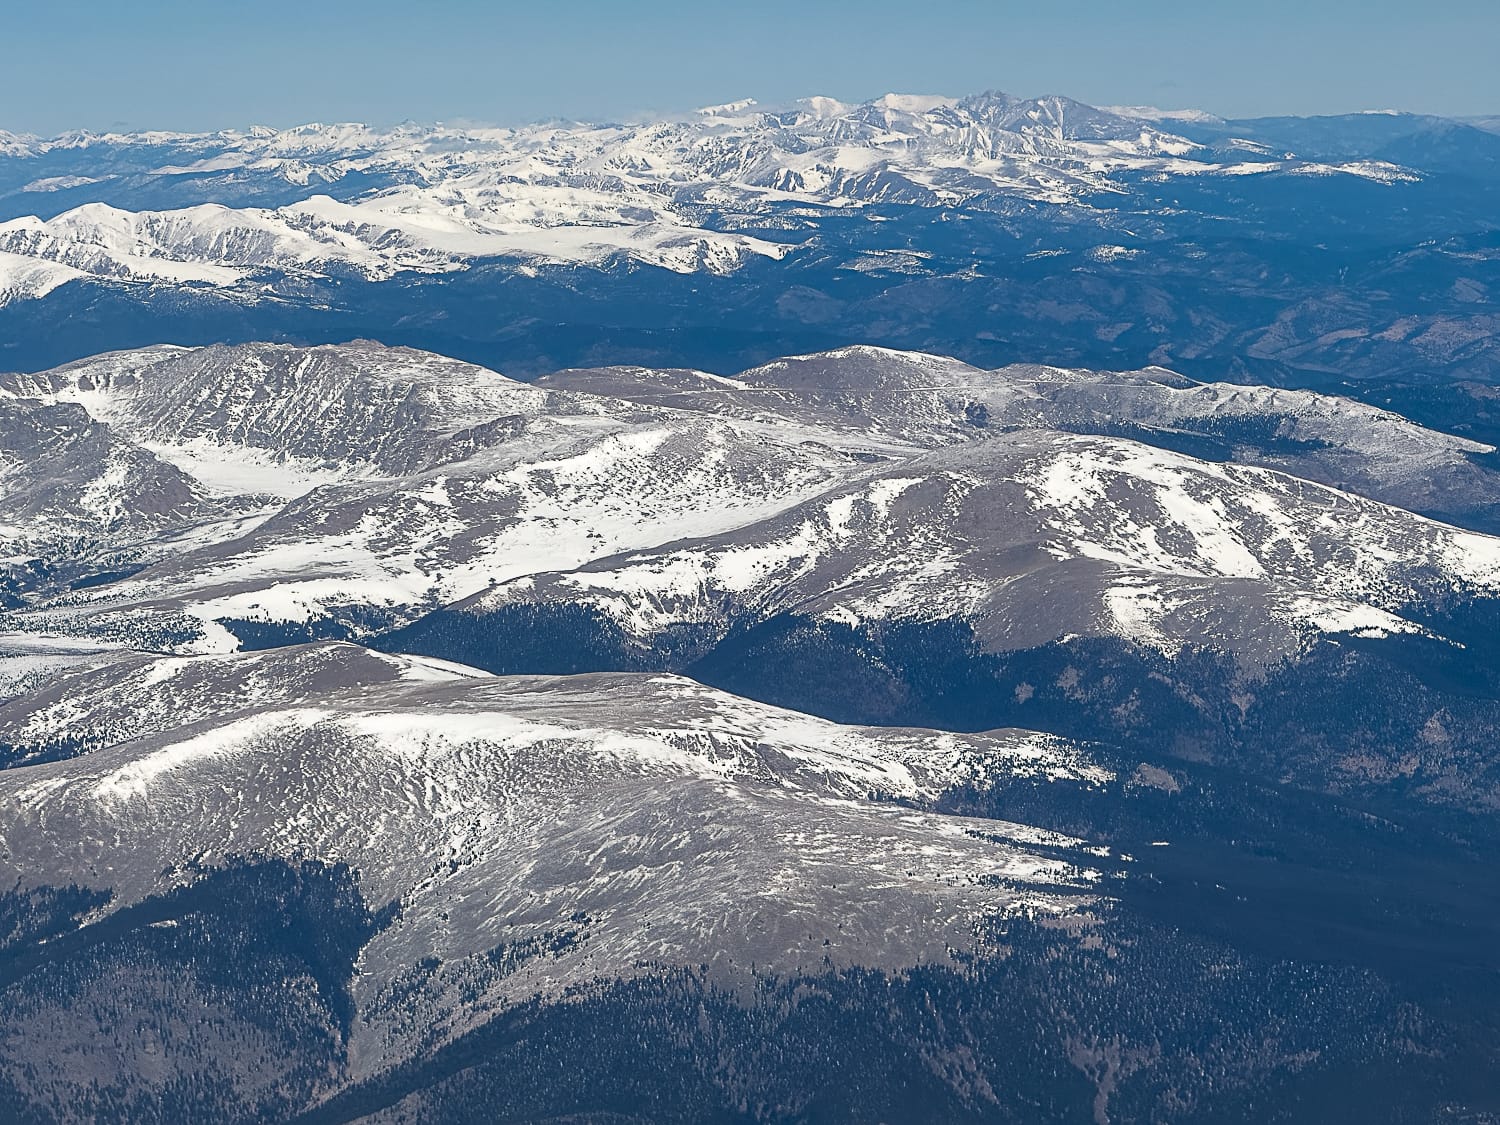
Aerial view of the snow drought in Colorado's Rocky Mountains on March 4, 2026. Photo: Mitch Tobin
The High Route Podcast: The Snow and Water Episode
With Journalist Mitch Tobin.
Leave a Reply
You must be logged in to post a comment.