Will haul gear. Make few turns. Photo: Kelly Cordes

Through the up and down, and the in-between — you’re hauling everything on the multi-day traverse. Photo: Kelly Cordes


Part III of Planning for a Traverse focuses on food, fuel, water, and the specific gear. The aim is to bring just enough in each category, with a slight buffer to make it an extra day. Even in spring, it’s wise to expect winter.


Read Planning for a Traverse Part I
Read Planning for a Traverse Part II


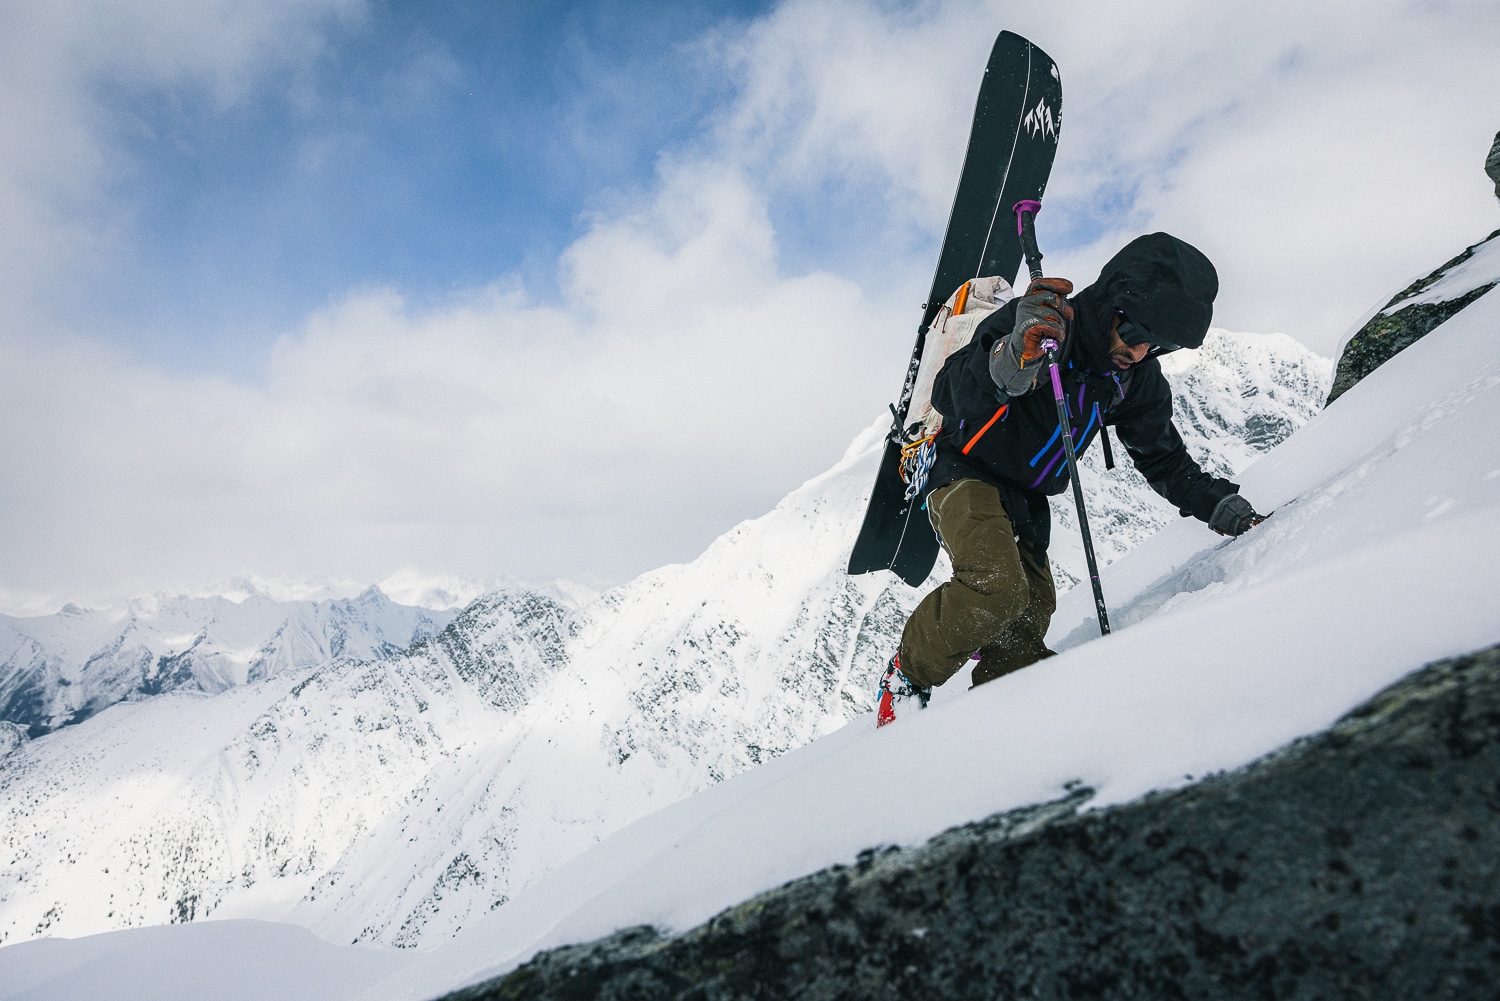
Packing for my last multiday traverse, pre-ACL surgery, and post-ACL blowout, I sought every advantage to reduce pack weight. One partner, Kelly, a seasoned alpinist and by default sufferer, came to play with a very light pack for six days: ~35 pounds. Initially, my pack weighed 45 pounds, which I cut to 39 pounds. For comparison, Kelly had a 30-degree bag; mine was zero-degree. 

For organization purposes and proper lightest-pack bragging rights, we each carried our personal items, including food. We divided the tent in three (fly, poles, and main tent) and split the fuel and stove between us.


Stove Fuel: How Much?

We used a MSR Windburner stove and a 1.8L pot. It was an excellent choice for us. Kelly, having the most experience with a true go-light (maybe some disaster style mixed in) ethos, advised a single eight oz. fuel canister for three people/day. We had some cold and warm days with a mix of cloud cover and one major dump over six days. Although we packed seven days of fuel, providing a one-day margin, we came home with spare fuel.

As a rule, we heated water in the evenings for tea and rehydrating freeze-dried dinners—mornings, we brewed for coffee and the optional oatmeal breakfast.

Our efficiency was a result of a few things. We never boiled water or melted snow mid-day. We could access open water on several days and provide ample refills by packing water bottles with slush/snow during the heat of the day. But as Kelly qualified in his notes, “it’s not pure science, as this all shifts with temperatures, snow density, how hot you need your water (just melting or making it hot/boiling?), how careful you are, etc.”

Physics is real (as in science in general)—as the temp of the fuel drops, so too does its pressure. In cold temps, most mornings and evenings on a ski traverse, place the fuel canister in a small bowl of water as the stove runs. Placing the canister in a bowl of non-frozen water keeps the fuel pressure up, allowing the stove’s fuel pressure regulator to function properly and the burner to maintain high output.

MSR IsoPro fuel canisters come in ~4 oz, 8 oz, and 16 oz sizes. Depending on who you ask and how you pack, an argument can be made that each size packs more efficiently. But the ratio of fuel to overall weight is slightly more favorable for the larger size. We opted for more 8 oz canisters for the sole reason that in the event of a fuel canister puncture, losing 16 oz would be riskier.
Kelly, a meticulous record keeper, had this advice from low-key Alaska alpinist Clint Helander: “My thoughts are always that a little extra gas buys you time and security.”


Water refill- Winds. Photo: Kelly Cordes

Water hauling efficiencies: drink often and refill at open water sources. Photo: Kelly Cordes


Water: How Much?

Again, each person to their own. But starting each day with a minimum of two liters of water if you are not expecting open water to replenish during the day’s travels, is wise. Water consumption depends on conditions. If your route has known open and potable water sources en route, consider carrying less water. I began each day with a filled collapsible 1-liter bottle, a .75L LifeStraw Peak filter/bladder, and a .5L bike water bottle secured to my shoulder strap. The LifeStraw Peak allowed us to bring a filter, while the .5L bottle kept on-the-go water an option.

During a winter traverse, melting snow midday is likely your primary water source. Plan accordingly for fuel and downtime for melting snow.


The Food

Know thyself. Know how much food you need to sustain a go go go pace and refuel/replenish each day. Rules are, as any teenager knows, meant to be broken. But breaking a rule doesn’t necessarily make you wiser. As a rule, we’ve landed on roughly 2 to 3 pounds of food per/day/person. Calorie-dense food is key. Add high-caloric goodies like cheese, butter, and nuts to main meals. And keep bars and a GORP concoction accessible throughout the day. While you are moving, you want to consume calories every hour.

On an extended traverse, say more than three days; I make a rule of trying to eat my “heavier” and bulkier food items like summer sausage early in the trip. And I pack a big sandwich for the first day’s lunch stop. This strategy provides a psychological boost as a decrease in the pack’s weight is notecable.


Learn how to bump up the per-meal calories on a ski traverse


Don’t reinvent the wheel. I’m adding a basic breakfast and a freeze-dried meal to what I would already carry for a typical full day of winter touring. I also choose freeze-dried meals by calories/serving rather than primarily by taste. Most foods taste better outdoors, anyhow. On that note, beginning in the fall, I start training my body to burn fat on long excursions rather than constantly refueling with simple sugars. You’ll appreciate your body’s ability to burn fat on big days.


The Traverse Specific Gear

In our attempt for efficiency, we’re keeping the word count of each part of our planning series a bit over 1000 words. We are getting close. There will be more on gear for traverses in the future.) As an overnight endeavor in late winter or spring, plan for temps that could foreseeably dip to at least the low teens Fahrenheit. Below are items we wouldn’t categorically carry on a day tour but are indispensable on multiday traverses.

  • Down/synthetic booties
  • Drinking/eating cup and spork
  • Sleeping bag+pad
  • Spare/dry hoody for evenings & sleep
  • Spare warm hat
  • Long underwear for camp + Puffy Pants synthetic/down
  • Small blister kit
  • Multiday first aid kit
  • Ski/binding repair kit with appropriate posi-driver for each make of binding represented
  • Earplugs
  • Ski Pants with ample vents (or full zips) to dump heat. Unless it’s AK and looking burly- avoid bib pants
  • Light hat for sun protection
  • Three pairs of ski socks (two if you go leaner). Alternate two pairs for ski days, and keep one pair exclusive for camp/sleeping
  • Therm A Rest Z Seat: small light closed cell foam pad for sit-anywhere insulation. It helps to sit on when melting snow/prepping food
  • And at least one episode of Eastbound & Down (is this the right show KC?) downloaded to a phone in the event it storms

Later in the season, we’ll cover tents v mid shelters and sleeping systems that work (which depends on who you are).