An ATK heel mounted on an adjustment plate. 8 screws leaves some options for stripped screws. The screws not to over tighten, for fear of the dreaded stripping, are the four T-20 screws attaching the heel unit to the adjustment plate.

An ATK heel mounted on an adjustment plate. 8 screws leaves some options for stripped screws. The screws not to over tighten, for fear of the dreaded stripping, are the four T-20 screws attaching the heel unit to the adjustment plate.


Some things in the backcountry realm are decidedly unsexy. The one topic we’re touching upon here is right up there with blown skins as the unsexiest of all—stripped binding screws. We are here to help.


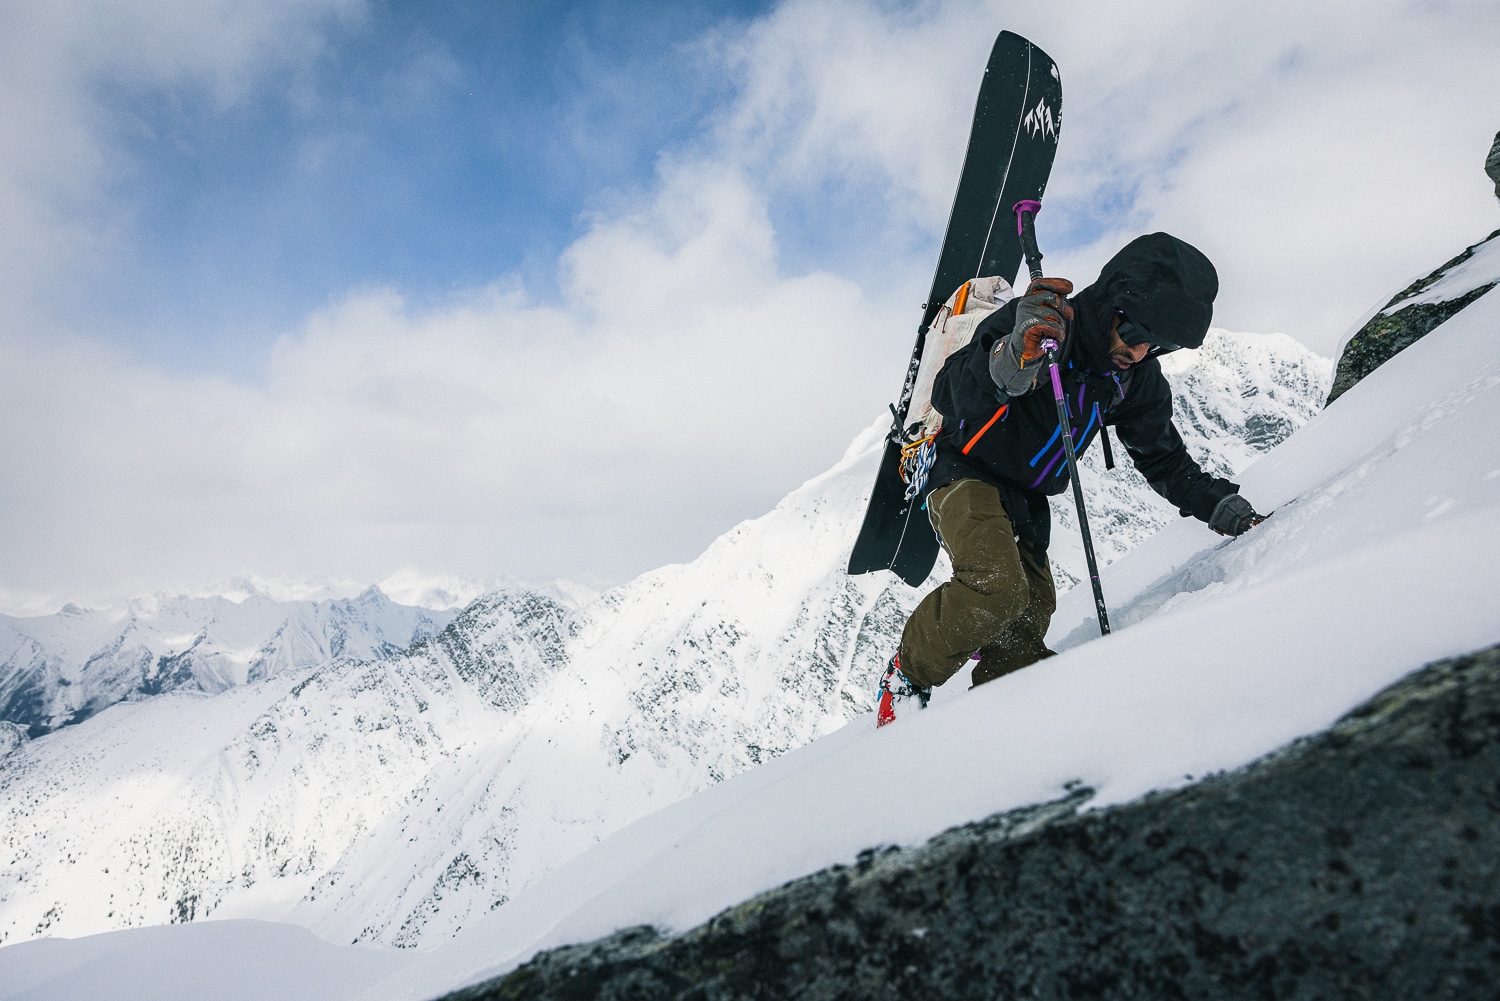
The mere thought of a stripped binding screw brings back the horrors of f-bombs past. In The High Route’s Bend HQ, we habitually do ski bench work on the heirloom kitchen table. I think the dogs are forever damaged from the virulent f-bombs tossed around each time I’ve attempted to loosen an overtightened T-20 screw, or subsequently stripped the overtightened T-20. Evidently, at the Wilson, WY HQ, the folks there “try pretty hard not to strip screws.”

We’ve all had issues with different drive type screws: Phillips Head, hex, Pozidriv, and Torx (the T in the T-20) are all guilty by association—it takes an overzealous screw tightener to over tighten the screw. In other words, user error happens.


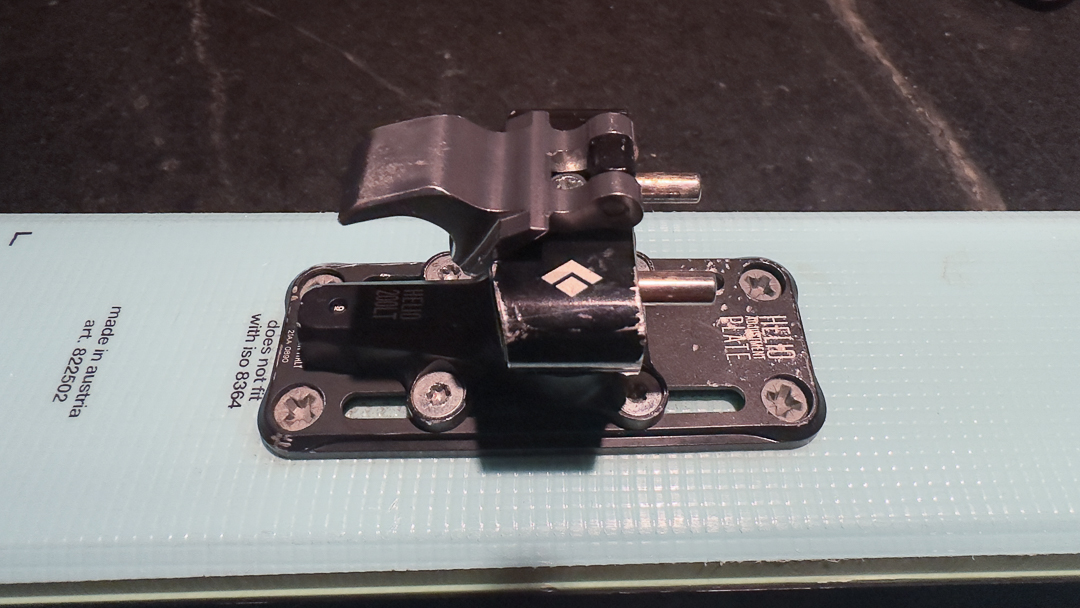
Preventing User Error

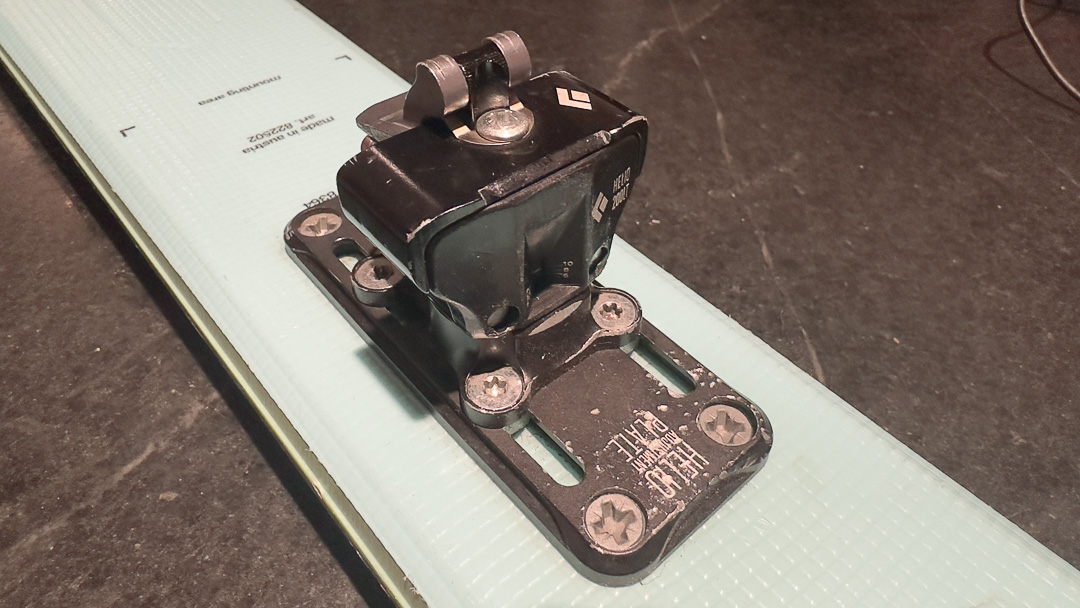
Here is a basic step to begin with: do not over tighten screws. Don’t over-tighten any of the mounting screws, meaning the four toe piece screws or the four heel piece screws. We advise hand tightening the four screws (toe or heel, respectively) and then giving each screw a turn or two until they feel secure in place, and any effort to rotate the screw more feels excessive. Ok, have no shame. We’ve all gotten excessive.

The same can be said if you use heel pieces that secure to a mounting adjustment plate. Mounting adjustment plates are handy for those who use different BSL ski boots on the same skis; the plate affords some fore and aft adjustment to accommodate the different BSLs. Usually, the heel piece secures to the plate by creating tension—these are called tension plates. There’s a nut inserted into a track, and the screw threads into the nut—the more you tighten the screw into the nut, the more tension there is, which prevents the binding heel from moving forward or back. And…it is easy to over tighten these four bolts. Err on the side of hand tightening and not over rotating, which may cause eventual f-bombs and not solve any problems.

The key here is securing the four heel bolts into the mounting plate and then rechecking periodically for looseness and hand tightening as necessary. (Do not use glue on these bolts.)


Pre-stripping—here’s some advice on not digging yourself, or a screw, into the emerging abyss of strippedness. To remove a stubborn screw, you can try TIGHTENING the screw first. Sometimes, the back and forth of tightening and loosening will help jar it loose. This is a common practice in the automotive industry. But again, you know this; these are skis. They are way more fragile than a Tacoma or even a Prius, so be gentle, but, moving forward, apply force with some authority.


So, although we’d like to say it isn’t so, it is so…the screws are overtightened and have begun to strip. If you see steel splinters here and there and a bored out screw head, stop immediately. Take a breath. Drop the f-bomb if need be. Reassess. Serenity now. Here are a few options for removing the stripped bolt/screw.

Gavin over in Wilson, who tries at all costs to prevent the drive pattern from stripping, has used a gritty paste (similar to bike paste or carbon paste to prevent slippage between two carbon pieces) and applied it to the stripped screw. He then gently hammers in a slightly larger Torx drill bit or screwdriver—in this case, a T-25 since the original drive pattern is a T-20 or a 5mm hex—and sees if he gets the bolt to bite and back out. 

In the event the process above does not work, or, you are skipping straight to this step, as things may be getting desperate, we’ve got more stripped screw beta below. 


Stripped Screw Problem Solving

So assume, like us, you’ve got that intelligent friend who knows more than you regarding all things building supply, building, and, in fact, deconstructing. At The High Route, we consulted our now Truckee-based guru, Dakota Blackhorse-von Jess, to get the stripped screw low down. (In past seasons, Dakota has assisted with removing several stripped screws, as he is wiser and, certainly, can apply more downward force than the editor.)  

For real stubborn stripped screws, use a hand held impact driver to remove screws, not a drill. The impact makes a HUGE difference. Dakota says impact drills are best for the following reasons:

  • Trigger control: It is much easier to control an impact driver.
  • Torque curve: Some impact drivers have torque settings, but even without the adjustable torque setting, the hammer (inside the impact action) will naturally slip, preventing the wrist-breaking action of a drill when the bit bites (which allows you to focus on positioning and leverage).
  • Vibration: The vibration helps “shake things loose”—this can be stubborn adhesives or rust.


A close up of a compromised Phillips Head bit. Use an unblemished bit when installing, removing, or tightening screws.

A close up of a compromised Phillips Head bit. Use an unblemished bit when installing, removing, or tightening screws.


A stare down with a T-20 (Torx) bit. We've snapped many a T-20 bit trying to remove a stubborn (overtightened) or stripped T-20 screw.

A stare down with a T-20 (Torx) bit. We’ve snapped many a T-20 bit trying to remove a stubborn (overtightened) or stripped T-20 screw.


A Fresh Bit

Use a fresh bit of the right size. Bits often seem fine when, in fact, they are not. If the bit is rounded, especially if it is harder than the screw material (this is almost always the case), then the screwdriver bit becomes a cutting tool and will effortlessly cut out the ridges that you need to extract said screw.

If you have mild stripping—STOP. Get a fresh bit. If a bit is slipping, THROW IT AWAY. These are not expensive, certainly not when compared with the cost of your gear and other extraction methods.


The Rubber Band

Get a rubber band. The rubber band trick is pretty incredible—put the rubber band across the screw head, insert the (fresh) bit, and push down with all your body weight and then some. Then, lightly squeeze the trigger. The rubber band provides the grip you need by filling in the messed-up spaces between the bit and stripped drive pattern and provides a ton of resistance to spinning.


The Refined Technique 

Get the ski on a hard level surface no higher than waist height. The floor is fine; just set yourself up so you can comfortably kneel. You cannot apply too much downward pressure (and it is usually more than you think you need). Downward pressure is your friend.


Editor’s note: if you are at all concerned about this DIY project and, in particular, further damaging your ski, please bring it to a shop. Below, we discuss using an a hand held impact driver—we’ve had good luck with this tool removing near fully stripped screws, especially when glue/adhesives are involved with the mounting process.


If you have Phillips head screws, make a note. They are very angle sensitive. The bit needs to enter the screw at the same angle you drove the screw. In a perfect world, this is perpendicular to the ski. In a less-than-perfect world (think any wood or metal or Philips head screw you’ve tried to remove and had strip out on you), the primary culprit is the angle of attack. The bit must be in line with the shaft of the screw—this is absolutely paramount when trying to extract a stripped stripping screw.


Equipment

Find an impact driver. A second, and often less effective option, is to use the clutch setting on your drill if you have one (smaller numbers equal a lower torque, and switch to speed 1; again, it provides more torque). It is pretty unlikely that you’re going to pull off an extraction with a screwdriver, so save those for the final torquing of your screws and do everything else with power tools. If you have an adhesive agent (even something flexible like silicone), the repeated shocks of the impact gun will help break the bond. Finally, (this is technically technique) be very gentle with the trigger. You can always squeeze a little harder, but squeezing too hard out of the gates is an assured way to finish stripping out the screw you’re working on.


Screw Extractors

Once you’ve exhausted all other “normal” and “hack” options (and I do mean exhausted—once you get here, there is no going back), get yourself a set of bit extractors. I prefer the 2-sided bits with the burnisher on one side and the extractor on the other. Binding screws are typically pretty soft metal which gives these extractors a pretty good success rate in this application. If all this sounds like too much, and in the event you have read through this piece before taking any action (which is always a good habit), take the ski/binding/stripped screw combo to the local shop. 


Many thanks to Dakota Blackhorse-von Jess for the hand holding on this. And while you are thinking about it, check all your binding screws to ensure they are sufficiently tightened before your first tour.