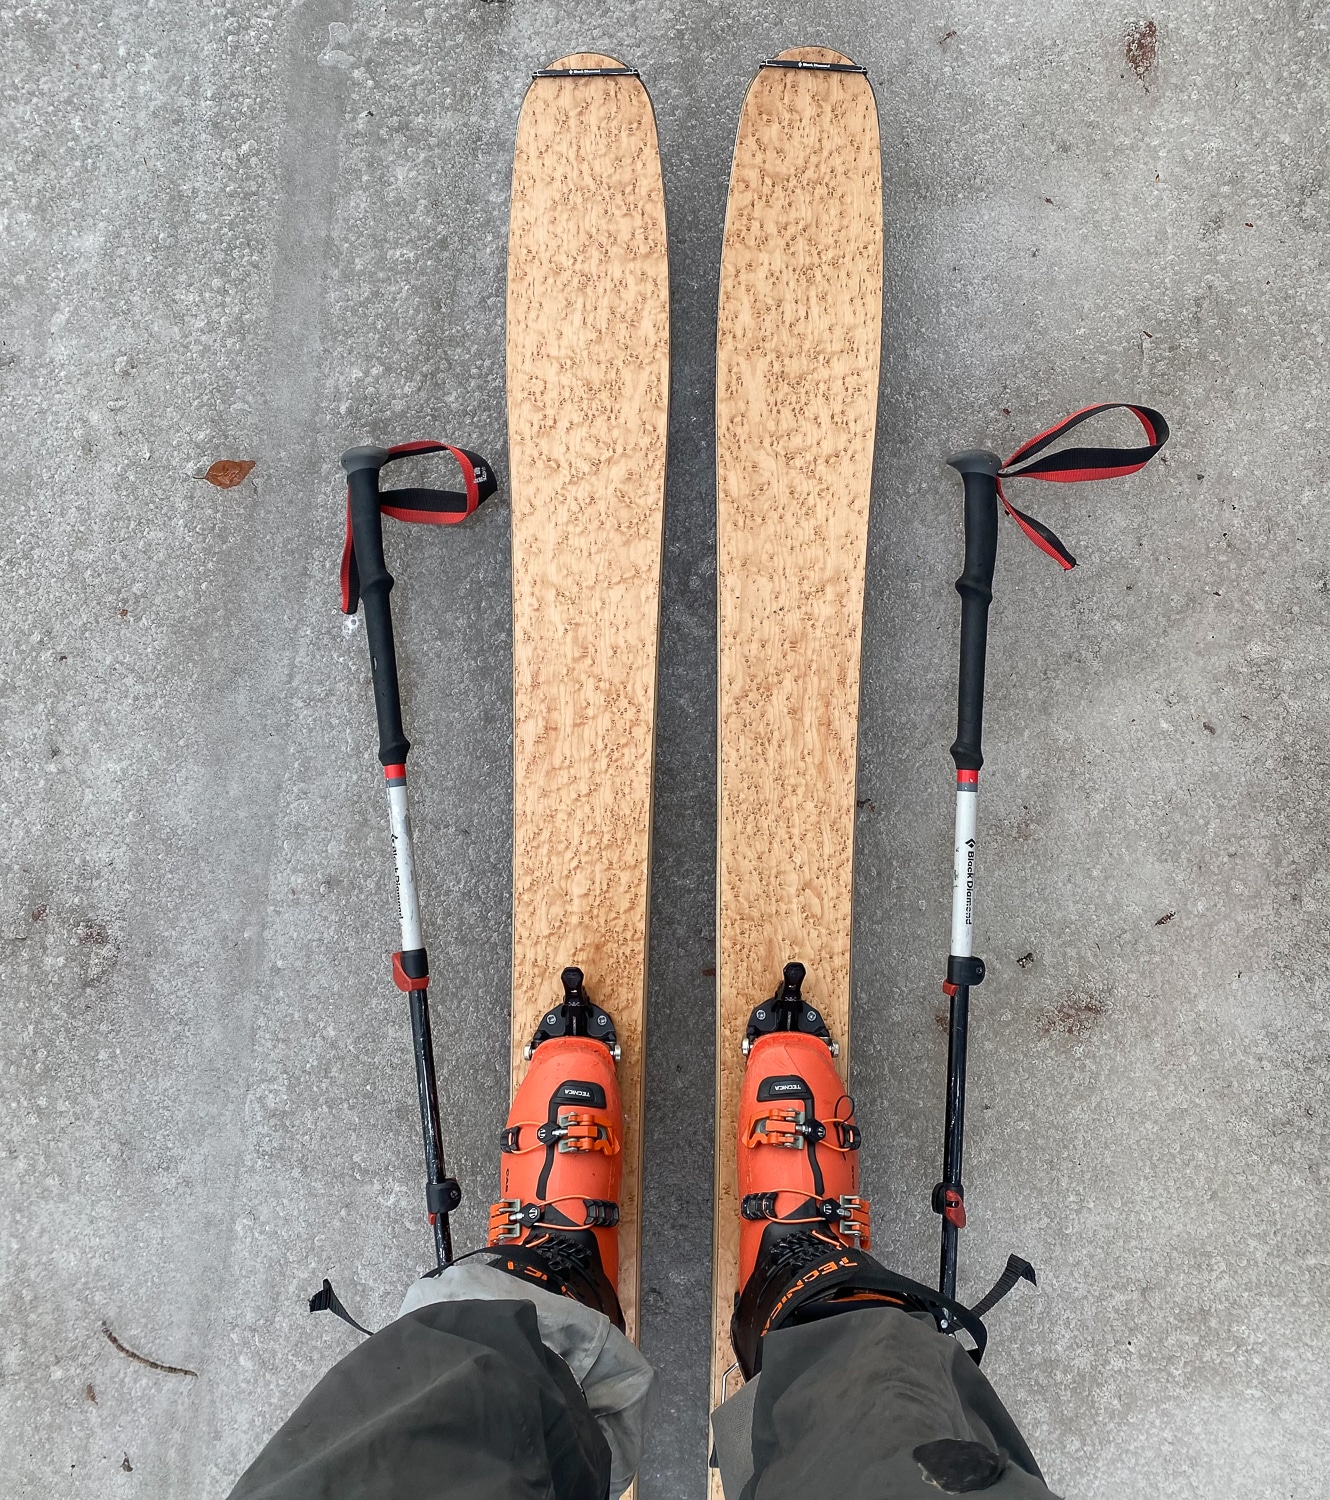
Consider this the clarion call for the preseason backcountry gear once-over. It is the pre-season gear check. You might as well make it count now–nobody likes a gear failure. We’ll go in the order of boots, bindings, skis, skins, and poles.
THR Pre-Season Gear Check
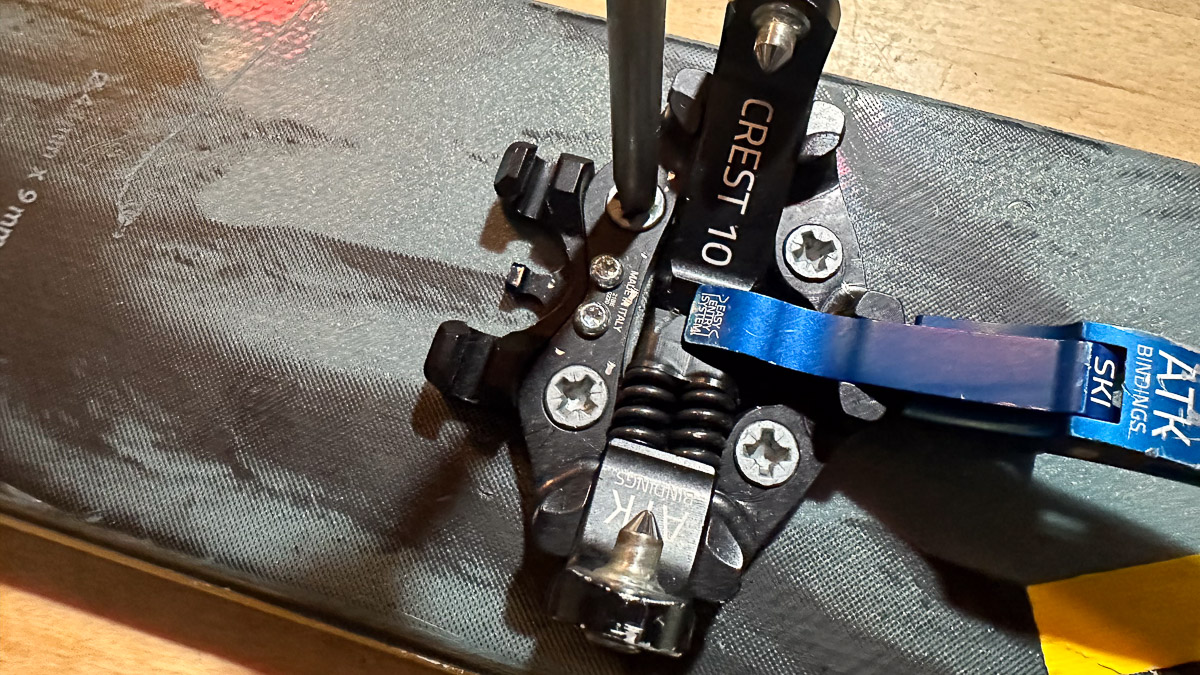
The basics: check all the binding retention screws for tightness. Hand tighten but certainly, don't over tighten.
Latest Features
-

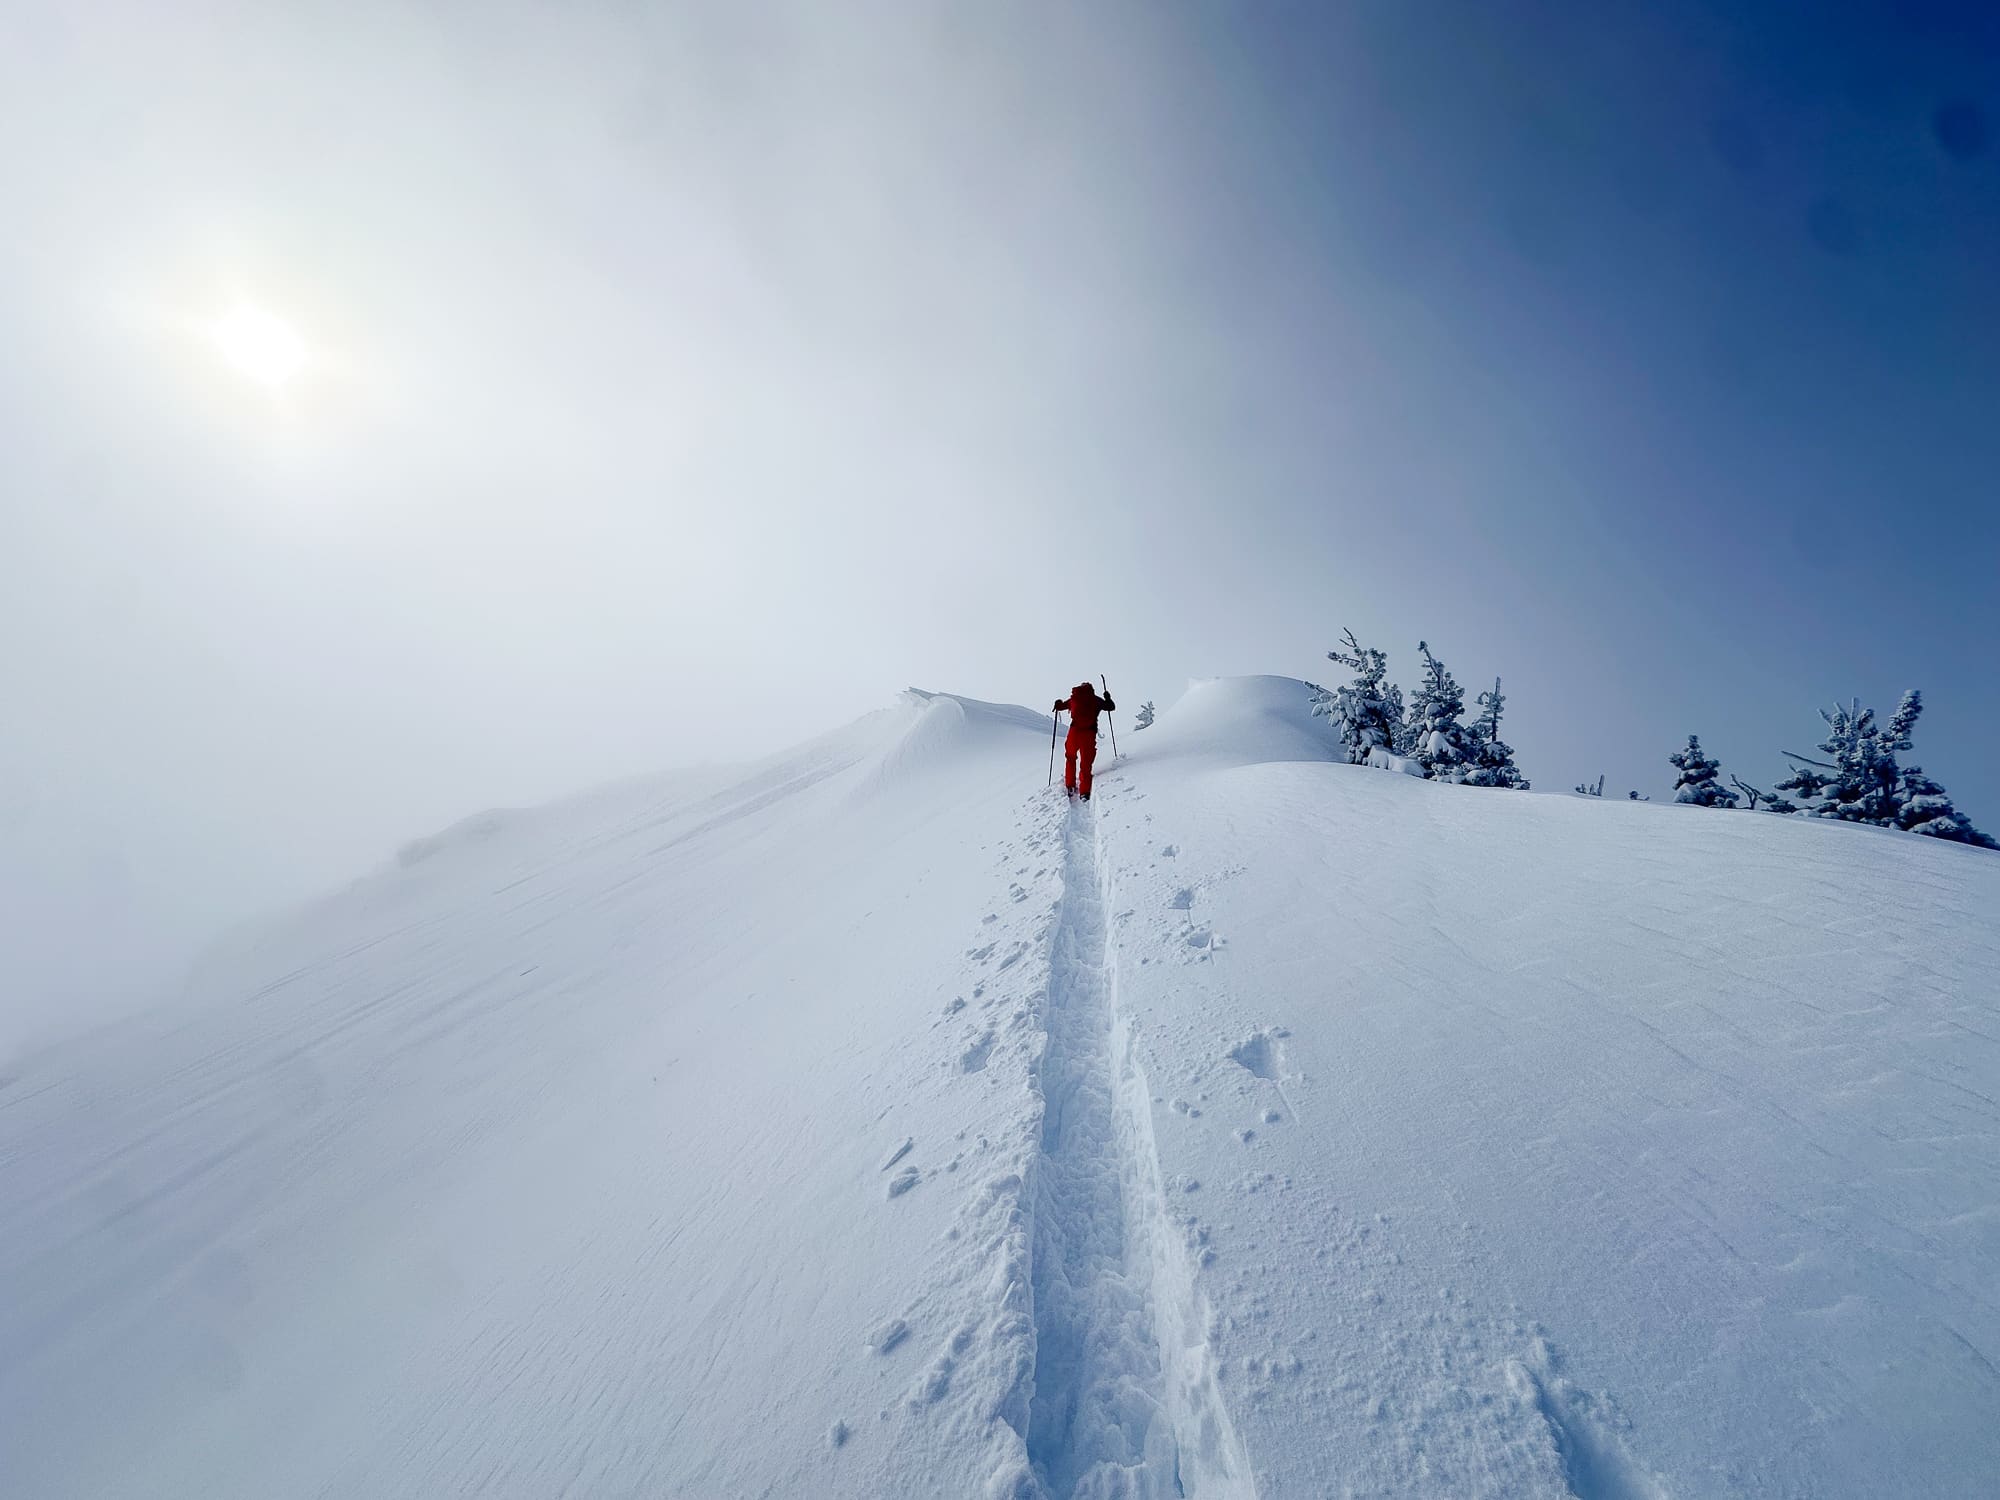
In Alaskan terrain, being mindful of runout and alpha angles is a wise mindset. Photo: Bill Haas
Understanding Alpha and Runout Angles
Two data points to help keep it real and safe in avalanche terrain.
-
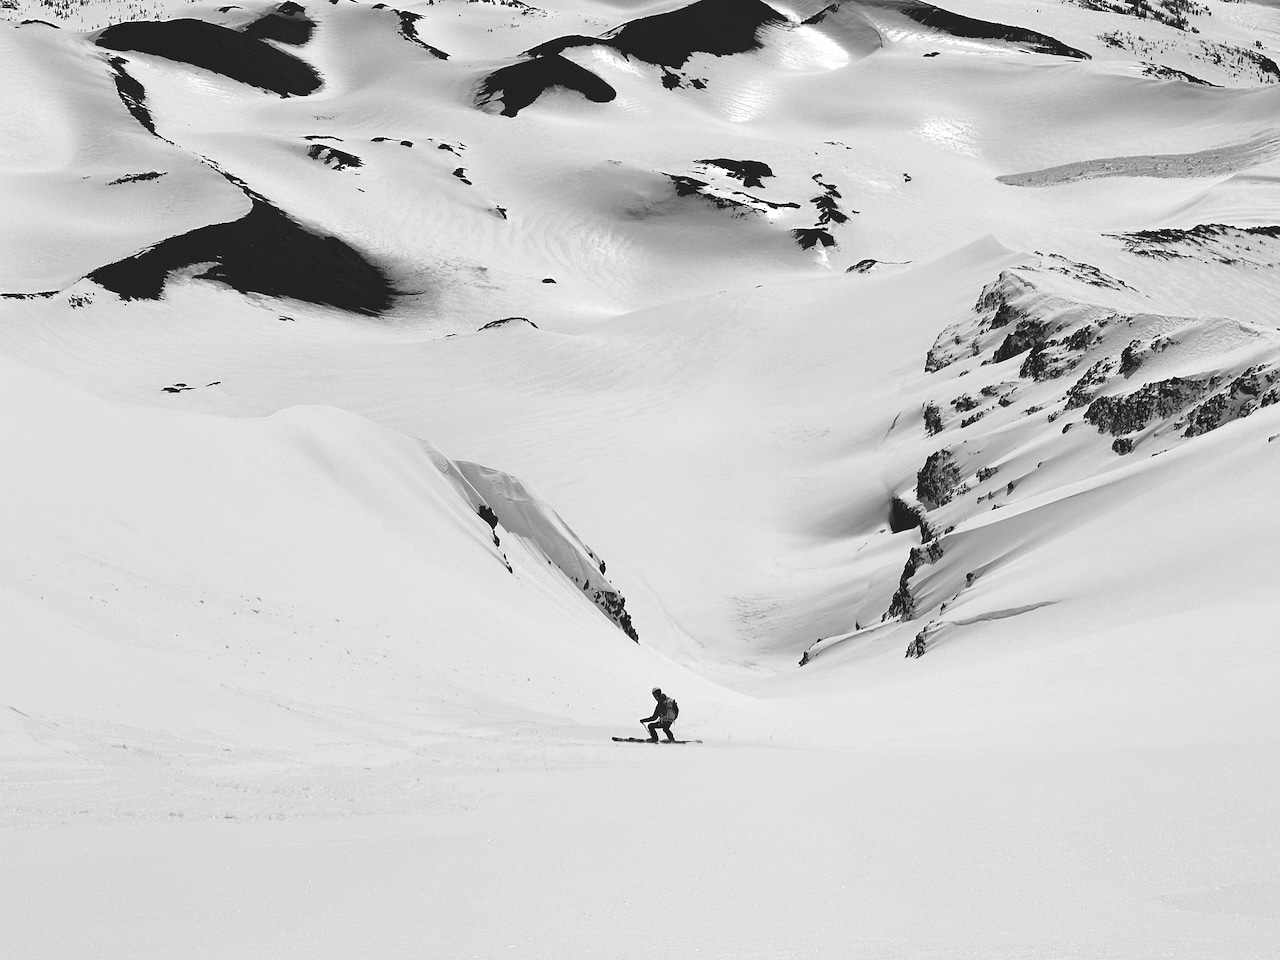
The timing is right: perfect corn.
The Spring Mindset Shift
Longer days, warmer days: Time for a spring-centric mindset shift.